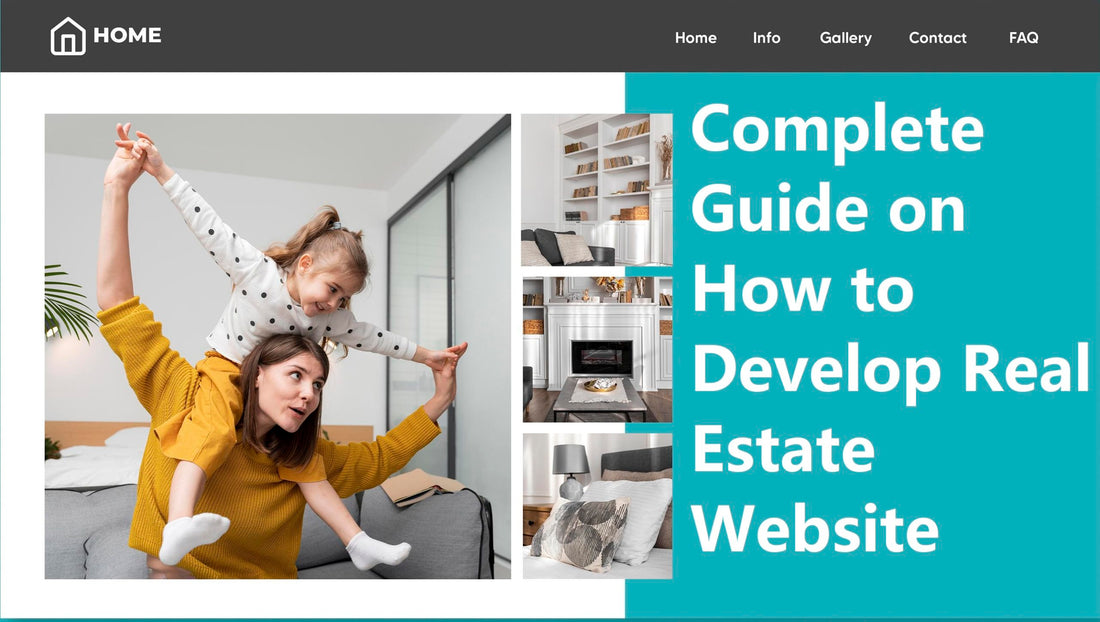
Do you own a real estate business? Have you thought of building a real estate website for your business?
Today, from finding essential information to buying services and goods, the internet has become a helpful tool for pushing your business to the top. By creating a website for your real estate business, you can promote your services to potential customers.
A website for real estate helps you showcase listings for properties that are available for renting or are on sale. Today, multiple individuals employ websites for searching and buying the best property.
Therefore, building a real estate website provides opportunity to reach a wider audience and come in contact with more clients who wish to buy, sell or rent their properties.
With more and more businesses going online, you should save time and start developing your website. If you have a question about how you can build your real estate website, you have come to the right place.
Countless things go into making a website, from choosing the best real estate WordPress theme to modifying your web pages. Thus, we have listed all the steps you can follow to start your website development journey.
Reasons For Investing in A Real Estate Website
In the internet age, you must be unaware of how realtors use traditional media to get themselves noticed by the locals. The limited space on the paper can only allow businesses to showcase some of their features and services. Hence, it took a lot of work for real estate agents to get the reach they sought.
However, digitization and internet access made things better. Although the rising competition makes things challenging today, you should still be able to derive all benefits. Let us learn about some of these below:
Establish Brand:
A newspaper ad needs to gain more attention than you want. You can establish your brand's values and message by creating a website. Your audience will be able to acknowledge your brand, hence building your brand identity. A website enables you to deliver content that matches your values and connects better with the users and industry experts.
Build Credibility:
Websites are capable of building your business's perception. Users give preference to the business enterprise they consider experts. Hence, dealing with genuine opinions and reviews to gain your audience's attention is essential. Using testimonials, blogs, etc., can help leverage your credibility.
Generating Lead:
In the end, the goal of every business is to increase returns. Therefore, if you deliver an optimized website with high efficiency, you can boost your leads by gaining online traffic.
Latest Information:
Real estate market is always busy. Keeping up with the current information about different properties is essential. Using a website, you can deliver your locals with updated content which will help create more website traffic.
Saves Time:
From showing properties to closing deals and everything in between is a lot of work for the realtors. To be busy and successful, you can use your real estate websites packed with must have features to help you execute all such functions.
Step-By-Step Guide to Developing Your Real Estate Website
Follow the given steps to build your website for real estate with WordPress.
Step 1. Initiate Your Website Builder
You can start your website-building process by setting up your website builder. Further, to create your website, you must look for web hosting and establish your domain name.
Website Builder: The first step to building your website is to find yourself a website builder. There are multiple options available in the market that can help you develop your real estate website. WordPress is one of the most popularly known WordPress website builders. WordPress is ideal for beginners along with advanced users as it is a user-friendly platform.
Hosting Provider: A hosting provider offers you a web server space to locate your website on the web server. By using your web hosting services, you will get the opportunity to upload the files of your website online in this space. Hence, allowing users to access your website online.
Domain Name: Every website has a domain name. The domain name is your website's address that users type on their browser's search bar to visit your website directly. Only your website can make use of this unique name. To give you an example, the domain name for Amazon is amazon.com.
Today, you can find several hosting providers and registrars for registering your domain name. Some services offer you web hosting with domain name registration. You can buy services from a hosting company that delivers packages with domain names along with hosting services.
Moreover, you can find these services that also feature the option to "Auto-Install WordPress". Or you can locate the "One-Click Install" to install WordPress via the control panel. After installing, you can easily access the dashboard.
Step 2. Choosing The Right Theme
For building a website for your real estate business, you need a WordPress theme. But not just any theme. Picking an appropriate WordPress theme can decide whether your website will be successful or fail.
Research: Complete your research before finding an ideal WordPress theme to establish a website that best suits your real estate. Many options are available for the style and kind of real estate themes.
Responsive: Look for an easily adjustable responsive theme. Some themes helps in your website's SEO optimization support. It ensures that your website has a better reach.
Features: Some themes are bloated with features and affect your website's performance. Therefore, make a list of all the features that you need.
Color: Picking a theme that matches your band logo's color scheme is essential. A theme's appearance is vital for marketing your website online. Further, colors are an imperative branding element. Neutrals and lighter schemes help increase your website's elegance and appeal.
Premium: There are several free WordPress themes available on the market. However, choosing a premium real estate theme will give you high-end features that free alternatives do not offer.
Typography: Additionally, the font of your website must be intelligible, allowing your user easy website navigation. Therefore, pick simple fonts.
Once you have the best suitable theme, ensure that your website fits the latest WordPress standards. Further, test your theme thoroughly.
Step 3. Install Your Theme
Installation of WordPress theme should be done properly. Check the theme carefully if it does have all features and functionalities required for your real estate business, it is time to install it in your dashboard.
Access the dashboard and navigate to "Appearance". From there, select "Themes", which will take you to the "Themes" page. Here, on the top of the page, you will find an option for "Add New".
Here, in the box for "Search Themes", enter the name of the theme you have chosen for your website. Hover the cursor on the theme to get the "Install" and "Preview" options.
Click "Install" to start the installation process. When completed, select the "Activate" option. This step allows you to install the cost-free version of a WordPress theme.
Step 4. Add-ons For Elementor
Plugins are essential for WordPress website building. The use of plugins enhances the functionality of your website. They help extend the already existing features and in improving your website-building experience. Further, add-ons for your page-building Elementor plugin enhance the features it offers.
To install these, access your dashboard and find "Plugins" on the sidebar. Move your cursor to the option to find the "Add New" option. It will navigate you to the page for "Plugins".
Select the "Upload Plugin" and "Choose File" to upload the file of your downloaded plugin.
Next, hit "Install Now" to initiate the installation process.
Upon completion, click "Activate Plugin".
Finally, enter the "License Key" and select "Agree & Activate License".
Step 5. Start Developing Your Website
It is time to start the building process of your website. Therefore, you will have to import the demo site for your real estate themes. Your real estate theme will offer you a starting site for website development.
Once your plugin is activated, you can click "Get started" to install the WordPress plugin for demo importer. It will direct you to the page with different options for demos.
Select the demo site for your real estate theme and move your cursor over the pick.
Select "Import" > "Confirm" to successfully import the theme.
Now, you can initiate creating a website for your real estate business. Further, you can create a page for property listings to showcase your properties.
Additionally, you will find a gallery section displaying all the photos from various sites.
Step 6. Personalizing Web Pages Using WordPress Customizer
You have finally reached the fun part. You can now start modifying your web pages. For this, you will need the WordPress customizer that offers numerous options for customizing your website.
Visit your dashboard and navigate to "Appearance".
Find the "Customize" option. It will direct you to a page with multiple options for modification. It allows you to alter your website while life previewing the changes.
Various modification settings allow you to change the overall design of your website. These include the following:
Header:
The customization settings for the Header feature multiple options, including header media, side identity, header button, main header area, menu, and header top bar.
The header main area option allows you to alter header style, visibility, and header media position.
"Side Identity" allows you to alter your website's title, icon, logo, and tagline.
The "Header Button" option enables you to add links and text to your header button. In addition, you can modify the colors of its border, text and background.
Next, you have a "Menu" to tailor your page's primary menu. You can alter the color settings of your menu items with "Menu Item Color", "Item Active Color", as well as "Item Hover Color".
Global:
The global customization settings offer six options; colors, background, typography, container, sidebar layout, and button.
The option for "Colors" allows you to change the colors for the website's base and links.
"Background" allows you to edit your website's background color and image.
Using "Typography", you can change the headings to fit your taste.
The "Container" option allows you to change and edit your website's layout and gives you three styles. You can change your layout to boxed, full width and content boxed.
"Sidebar Layout" gives you plenty of options, including default, blog, single post, and page, to change the layout of your sidebar.
Additionally, the option "Button" allows you to adjust the multiple buttons on your site. You can change their colors and size using this option.
Content:
Another customization setting is content which gives you four options. It includes a page header, single post, blog/archive and meta.
The option "Page Header" allows you to pick your page title's position. You can change it from the content area to the page header. Also, you can select your page title's alignment. Further, you can add an image to the background, along with the background color.
Next, you have the choice of "Blog/Archive". It lets you change the color, style, content and post spacing.
The "Meta" option allows you to adjust the border width, meta style and set margin. With this option, you can change the meta items' color for a link, hover, and link hover.
Footer:
The footer settings offer you options to customize footer widgets, scroll to the top, and footer bottom bar.
The "Footer Widgets" option is available to change the style of the footer widget. Additionally, you can alter the title margin of the widget. You can customize the color of the title, background, text and link for the footer area. Moreover, changing the background image for the footer area is also possible.
The "Footer Bottom Bar" helps alter the style of your footer bottom. It lets you add text to your website's right and left content areas.
You can add a button for scrolling to the top of your web page with the option to enable "Scroll to Top". You can alter its color, font size, height, roundness, width, hover color, etc.
Widgets:
It is possible to add widgets to your pages using the customization settings for widgets. There are options available to add widgets to different areas, including the sidebar and multiple footers. With the assistance of this option, you can incorporate archives, calendars, galleries, menus, audio, navigation menus, categories and many more.
Menu:
The settings for the menu enable you to customize the name of your website's menu and adjust its location. Using this option, you can also alter the arrangement of items in the menu, including home, blog, about us, properties, and contact. You can also add or delete the items you may or may not need.
Additional CSS:
Next, you get an additional CSS option to alter your website and combine your CSS code to alter your website's appearance. There are instructions available as a helping guide.
After following all the steps and being satisfied with how your page looks, you can hit "Publish".
Step 7. Homepage Customization Using Elementor
Sometimes the creation of your starter site's homepage takes place with the help of page builders. Therefore, you must edit this page separately. The method to do this is easy to follow.
Visit your dashboard.
Look for "Pages" on the left side of your screen.
Next, by selecting "All Pages", you will find the list of all your website's pages.
When you move your cursor to “Home”, you will find multiple options.
Select the "Edit with Elementor" option.
Now, you can edit your website using Elementor. You will find multiple options for drag-and-drop to change the layout design of your website's homepage.
You can add buttons, reviews, videos, price lists and more to capture your user's attention and help make navigation easy.
Further, with the aid of Elementor premium, you can incorporate social buttons offering the option to share your website's information on multiple social media sites.
After customizing your homepage, you can hit the "Update" button.
If you have followed all the above steps, you have successfully built a website for your real estate business.
Conclusion
Building a website has become a pre-eminent investment in today's business, especially in real estate. Today, almost every individual with internet access looks for options online before buying goods or services. The real estate industry is no exception when it concerns buying, selling or renting properties.
Therefore, building a website for your real estate business is crucial. A website allows you to reach a wider audience and have a higher chance of meeting potential customers. Further, you can modify all your web pages and alter each element of your website to fit your needs.


