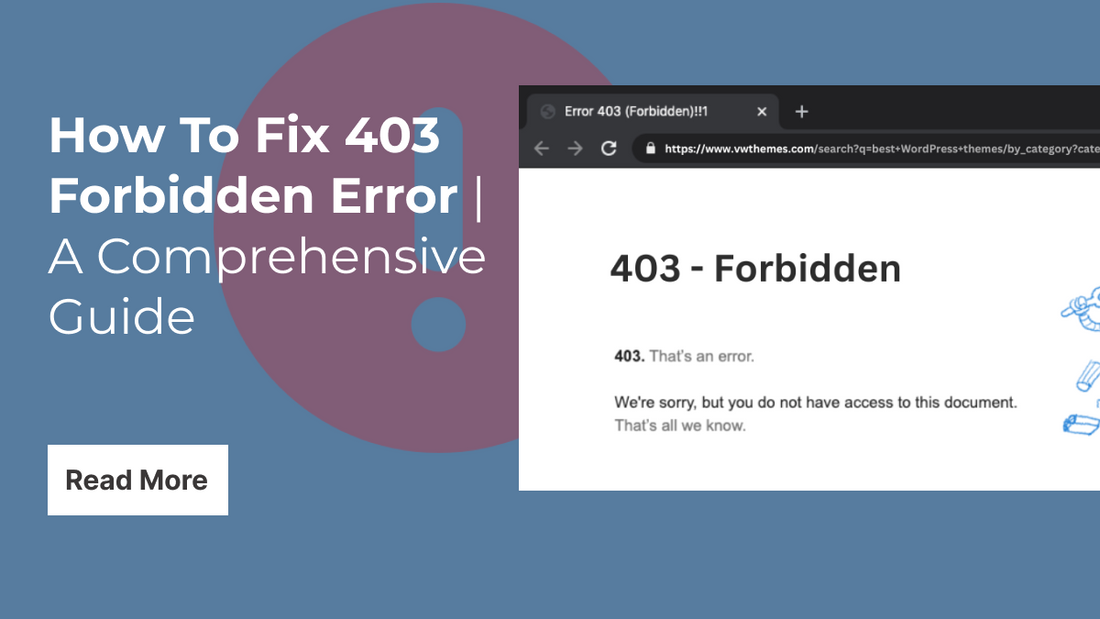
“403 Forbidden”
Frustrating to see, right? If your answer is yes, you’ve reached the right blog for your problems.
The 403 Forbidden error is a common yet annoying issue that occurs when a server denies access to requested resources. Whether you’re a website owner or a casual internet user, facing this error on your screen can disrupt your workflow and leave you searching for solutions. This error typically arises due to permission settings, incorrect configurations, or security measures that block access. While it might seem daunting, understanding the causes and learning “how to fix 403 Forbidden” errors can help you regain access quickly and prevent future occurrences.
In this comprehensive guide, we’ll break down the steps to resolve this issue effectively. Whether you’re managing a website or troubleshooting an error on a webpage you’re trying to visit, this guide will equip you with the knowledge to resolve the issue and restore smooth functionality. Dive in to learn actionable steps and practical solutions for fix 403 Forbidden error WordPress once and for all.
What Causes The 403 Forbidden Error?
The 403 Forbidden error happens when your browser tries to access a website or file, but the server won’t let you. It means that the server understands your request but refuses to show you the page. To fix this error, it’s important to understand what’s causing it. Here are the most common reasons:
1. Wrong File or Folder Permissions:
Every file and folder on a website has permissions that decide who can see or edit them. If these permissions are set incorrectly, the server might block access. For example, if a file doesn’t allow the public to view it, you’ll see the 403 Forbidden error.
2. Issues with the .htaccess File:
The .htaccess file is a small but powerful file that tells the server how to behave. If there’s a mistake in this file like a wrong setting it can block access to parts of the website.
3. IP Address Restrictions:
Some websites block specific IP addresses or only allow certain ones. If your IP address is on the blocklist, you won’t be able to access the site.
4. Missing or Blocked Homepage:
Websites use a homepage file, like index.html, to show their main page. If this file is missing or blocked, the server might display a 403 error instead.
5. Problems with Plugins or Themes:
If you’re using WordPress, plugins or themes can sometimes cause issues. A plugin might accidentally block access to your website, leading to a 403 error.
6. Hotlink Protection Settings:
Hotlink protection stops other websites from using your files, like images or videos. But if this setting is too strict, it might block you from accessing your own files.
7. Server Setup Problems:
Sometimes, the server itself has settings that block access. This can happen if there’s an error in the server’s main configuration files.
By understanding these reasons, you’re one step closer to solving the problem. If you’re still unsure about what to do, our guide on how to fix 403 Forbidden errors provides simple and clear steps to help you fix the issue and regain access. Additionally, by learning how to fix 403 Forbidden errors, you can prevent this issue from recurring in the future.
How To Fix 403 Forbidden Error Easily?
The 403 Forbidden error can be frustrating, but the good news is that fixing this error is often simple. Given below are steps on how to fix 403 forbidden errors easily. Let’s get started.
Step 1: Understand the 403 Forbidden Error

● The server recognizes your request.
● The server denies permission to access the resource (webpage, file, or folder).
This error often occurs due to issues like incorrect server settings, file permissions, or security policies that block access. You might also encounter this error if you try to access restricted directories or files that are not publicly available.
Common messages you may see include:
- "403 Forbidden"
- "You don’t have permission to access this resource"
- "HTTP Error 403"
Understanding these messages helps identify the cause of the error and choose the appropriate solution. By learning what triggers the 403 Forbidden error, you’ll be better prepared to address it effectively.
Step 2: Check the URL
Why?
A simple mistake in the URL could lead to a 403 Forbidden error. Sometimes, specific pages or directories are intentionally restricted for security reasons. For instance, pages like `/admin` or `/private` are often limited to authorized users only. Additionally, unnecessary characters or formatting errors in the URL can also cause the problem.
How to fix it:
- Carefully review the URL to ensure there are no typos or extra characters.
- Confirm that you are not trying to access a restricted page or directory. If the page is private, you may need special permissions to view it.
- Avoid adding a trailing slash (e.g., `example.com/page/`) unless the page explicitly requires it. Trailing slashes can sometimes lead to errors if the server is not configured to handle them.
- If unsure, try navigating to the homepage or a different section of the site to confirm the URL’s accuracy.
By correcting the URL, you can often resolve the error quickly.
Step 3: Clear Browser Cache and Cookies
Why?
Outdated or corrupted cookies and cache files stored in your browser can sometimes cause the 403 Forbidden error. These files are meant to help websites load faster, but if they become corrupted or contain outdated information, they can lead to access issues. Clearing them allows your browser to load the website with fresh data, which can often fix the problem.
How to fix it:
- Open your browser settings or preferences menu.
- Navigate to the "Privacy and Security" section.
- Look for the option labeled "Clear Browsing Data" or similar.
- Select cookies, cached images, and files as the items to delete.
- Confirm the action and restart your browser.
After completing these steps, try revisiting the website to check if the error is resolved. When you clear your WordPress cache, it is a straightforward solution that resolves many browsing issues, including the 403 error.
Step 4: Check File and Folder Permissions (For Website Owners)

Why?
Incorrect file and folder permissions can stop your server from granting access to important files, causing errors on your website. It is essential to ensure that the permissions are set correctly so that your website runs smoothly and securely.
How to fix it:
- Start by accessing your website files. You can use an FTP client, such as FileZilla, or you can access them directly through your hosting control panel.
- Once inside, locate the file or folder that is causing issues.
- Look at the permissions assigned to the file or folder. These permissions are often displayed as numbers (for example, 644 or 755).
To fix the permissions:
- For files, set the permissions to 644 (this means the owner can read and write, but others can only read).
- For folders, set the permissions to 755 (this allows the owner to read, write, and execute, while others can only read and execute).
- After making the changes, save them and refresh your website to see if the issue is resolved.
Tip: Be cautious about using 777 permissions, as they open up security vulnerabilities.
Step 5: Inspect the .htaccess File (For Apache Servers)

Why?
A corrupted or misconfigured `.htaccess` file can block access to your website and trigger a 403 error, which can prevent visitors from viewing your content. The `.htaccess` file controls various settings and configurations for your website, so any errors in it could cause access problems.
How to fix it:
- Start by using your FTP client or your hosting file manager to locate the `.htaccess` file, usually found in the root directory of your website.
- Before making any changes, download a backup of the `.htaccess` file in WordPress. This ensures you can restore it if needed.
- Open the file in a text editor and carefully check for any incorrect or suspicious directives that could be causing the issue.
- If you're unsure about the changes, rename the file to `.htaccess_backup`, and then create a new, blank `.htaccess` file.
- Save the new file and upload it to your website’s root directory.
- Afterward, refresh your website to see if the error is resolved.
If the error goes away, the problem likely lies with the original `.htaccess` configuration.
Step 6: Disable Plugins and Themes (For WordPress Users)

Why?
Faulty or incompatible plugins and themes can lead to access restrictions and cause common WordPress errors like the 403 forbidden message. These issues may arise due to conflicts between plugins, outdated versions, or poorly coded themes. It's essential to identify and fix the problematic components to restore normal functionality to your website.
How to Fix it:
- First, log in to your WordPress dashboard or access your site’s files using FTP.
- To test for plugin-related issues, disable all plugins by renaming the `plugins` folder (e.g., change it to `plugins_disabled`).
- Afterward, refresh your website to see if the error is resolved. If the problem goes away, it indicates that one of the plugins was causing the issue.
- To identify the specific plugin causing the error, enable each plugin one by one and check your site after each activation.
- If the issue persists, try disabling and switching themes to identify if the theme is the cause of the error.
Step 7: Check IP Deny Settings

Why?
Sometimes, hosting providers or server settings can block specific IP addresses, including your own, preventing access to your website. This can happen due to security measures or misconfigured settings that incorrectly flag your IP as harmful. It's essential to check and remove any accidental blocks to ensure you can access your site.
How to fix it:
- Begin by logging into your hosting account where your website is hosted.
- Once logged in, navigate to the "Security" section or look for the "IP Deny Manager" in the control panel.
- In this section, check if your IP address is listed among the blocked or denied addresses.
- If you find that your IP address is blocked, simply remove it from the deny list.
- After making this change, save the updated settings and test your site to see if access is restored.
Tip: Use an IP lookup tool to confirm your current IP address to avoid any confusion.
Step 8: Disable Hotlink Protection

Why?
Hotlink protection is designed to prevent other websites from using your resources, such as images or videos, by linking directly to them. However, overly strict settings can sometimes block legitimate access to your site, including your own, causing issues like the 403 error. It's important to configure hotlink protection correctly to avoid unintentional access restrictions.
How to fix it:
- Begin by logging into your hosting control panel.
- Locate and navigate to the "Hotlink Protection" section, usually under the security settings.
- Review the list of websites that are allowed to access your resources.
- If your domain or any subdomains are not on the list, add them to the allowed websites list.
- Once the changes are made, save the updated settings and refresh your website to see if the issue is resolved.
This will allow your website to load without restriction while still preventing unauthorized external sites from linking to your resources.
Step 9: Ensure a Valid Index File Exists

Why?
Web servers rely on an index file (such as `index.html` or `index.php`) to display the homepage of your website. If this file is missing, incorrectly named, or not properly configured, it can result in a 403 error, blocking access to your site.
How to fix it:
- Log in to your hosting account and access your website's file manager.
- Navigate to the root directory of your website, where the main files are stored.
- Check if a valid index file, such as `index.html` or `index.php`, exists in this directory.
- If the file is missing, create a new index file (either HTML or PHP) and upload it to the root directory.
This will ensure that your website’s homepage is properly displayed without restrictions.
Step 10: Contact Your Hosting Provider
Why?
If none of the above steps work, the issue could be server-related or due to account restrictions.
How to Fix:
- Reach out to your hosting provider’s support team.
- Explain the issue and the steps you’ve already tried.
- Ask them to check server logs or permissions for potential problems.
- Follow their recommendations to resolve the issue.
Preventing Future 403 Forbidden Errors
To avoid encountering the 403 error again, follow these tips:
- Regularly Update Software: Keep your CMS, plugins, and themes up to date.
- Monitor File Permissions: Ensure correct permissions for all files and folders.
- Backup Your Site: Maintain regular backups to restore files in case of errors.
- Use Trusted Plugins And Themes: Avoid using poorly coded or outdated plugins and themes. Consider VW Themes as the pioneer market place for purchasing Premium WordPress themes.
- Configure Security Features Carefully: Ensure security settings like hotlink protection and IP restrictions are correctly configured.
Conclusion
In conclusion, the 403 Forbidden error, though infuriating, is usually a fixable issue. By following the steps outlined in this guide, you can quickly identify and resolve the root cause of the problem. Whether it’s due to file permissions, misconfigurations, or security settings like hotlink protection, understanding the underlying issues will empower you to restore access to your website. Additionally, by taking preventative measures such as regularly updating your website software, monitoring file permissions, and configuring security settings correctly, you can minimize the risk of future 403 errors. With the right approach, your website will be up and running smoothly again in no time.
Blogs Categories
Podcast WordPress Theme (Audio Podcast 2.0)

Latest WordPress Themes


Buy All our Premium Themes just at $119
