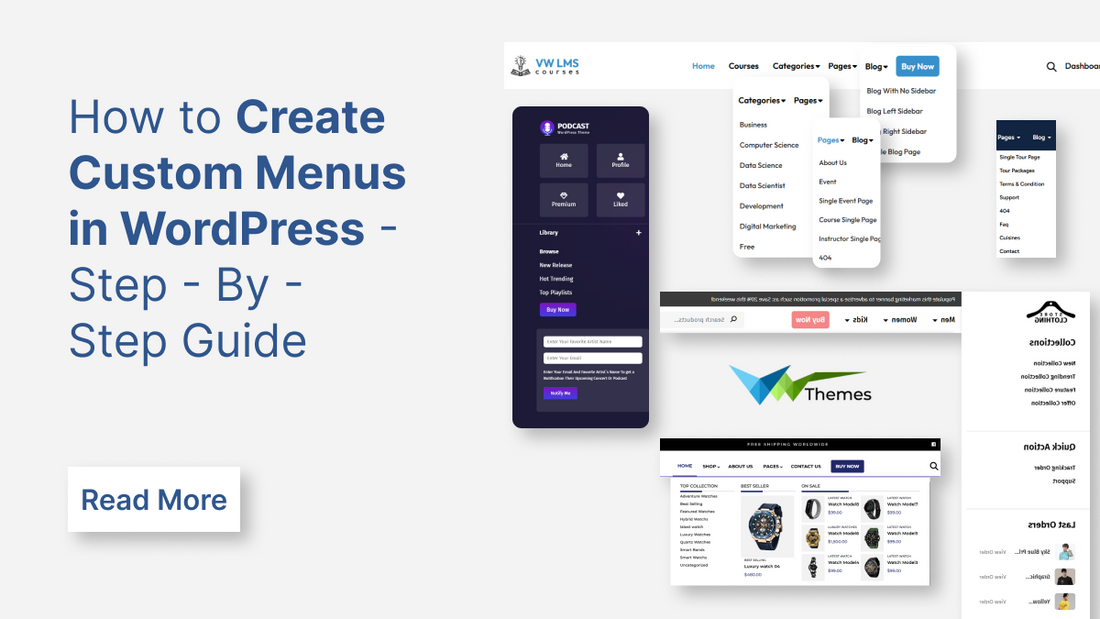
When it comes to building a user-friendly website, navigation is everything. A well-structured menu helps your visitors find the content they’re looking for without frustration and that directly impacts engagement, bounce rate, and conversions. In WordPress, menus are a core part of site navigation, allowing you to guide your audience through your content and features with ease.
By default, WordPress creates simple menus based on your published pages or categories. These default menus are straightforward and easy to set up, but they often lack the control and flexibility needed for modern websites. For example, you may want to include links to specific blog posts, custom post types, external URLs, or create multi-level dropdown menus with a tailored structure. That’s where custom menus come in.
Custom menus give you the power to handpick which items appear in your site’s navigation, how they’re grouped, and how they look offering a more refined and user-centric browsing experience. Whether you’re running a blog, an online store, or a portfolio site, having a custom navigation structure that reflects your brand and content hierarchy is essential.
In this comprehensive guide, we’ll walk you through three different methods to create a custom menu in WordPress:
- Using the Full Site Editor – Ideal for block themes and users looking for a no-code solution.
- Using a Page Builder Plugin (like Elementor) – Great for those who want design flexibility and visual control, therefore use best WordPress page builder plugins in order to create your tailored website.
- Using Custom Code – Perfect for developers or advanced users who want total customization.
No matter your technical skill level, you’ll find a method that fits your workflow and helps you build an intuitive navigation menu for your website using best menu plugins for WordPress.
Why Create Custom Menus in WordPress?
Creating custom menus in WordPress is essential for both usability and user experience. Here’s a clear and professional explanation of why custom menus matter:
- Improve Site Navigation: Custom menus allow you to organize your website’s content logically and intuitively, making it easier for visitors to find what they’re looking for.
- Enhances User Experience: By tailoring your menus based on user intent (e.g., separate menus for products, services, blog categories), you provide a smoother, more personalized browsing experience especially important for mobile users or large websites.
- Reflects Your Site Structure and Branding: Custom menus help reflect your site hierarchy and brand identity. You can group pages and link to custom post types, categories, or even external URLs all in a way that aligns with how you want your visitors to explore the site.
- Supports SEO and Site Visibility: Strategically linking to key pages (like service pages, landing pages, or cornerstone content) from the main menu can improve the internal linking structure, which in turn supports better indexing and SEO performance.
- Provides Flexibility and Control: You can create different menus for different areas like the main navigation bar, footer, or sidebar and update them easily without needing to change any code.
- Enables Better Design Integration: Custom menus integrate with most WordPress themes, and many themes even offer WordPress custom mega menus or styled dropdowns, letting you design navigation that matches your site’s aesthetics and UX goals.
How to Create Custom Menus in WordPress Easily?
Creating custom menus in WordPress can be an easy process. There are multiple methods you can use according to your interests. So, here are some of the methods to create custom menus in WordPress with ease:
1. SITE EDITOR - Create Custom Menus in WordPress Using Full Site Editor
Creating custom menus in WordPress using the Full Site Editor (FSE) is a different experience compared to the traditional Appearance > Menus method. Here's a step-by-step guide on how to do it easily within the Full Site Editor:
But first, you need to be using a Premium WordPress Themes (also known as a Full Site Editing theme) for this method to be available. Popular examples include Twenty Twenty-Two, Twenty Twenty-Three, Twenty Twenty-Four, and others available in the WordPress theme directory.
Ensure you are running a version of WordPress that supports the Full Site Editor.
- Log in to your WordPress admin dashboard.
- Navigate to "Appearance" in the left-hand sidebar.
- Click on "Editor". This will open the Full Site Editor interface.
- Next, you need to navigate to the header part containing your menu.
In the Site Editor, you'll likely see a visual representation of your website. Look for the area where your current navigation (if any) is located.
- Click on the header area or the existing navigation block. This will select the block or template part.
- Alternatively, you can navigate through the "Template Parts" in the top toolbar:
- Click the WordPress logo icon at the top left to open the sidebar.
- Click on "Template Parts".
Now, you need to find and select the “Header” template part.
Now, you need to add the navigation block, and for this, click the "+" icon within the header template part where you want to add the menu.
- Search for "Navigation" in the block inserter.
- Click on the "Navigation" block to add it.
Now that the navigation menu block is added, it's time to configure the menu items. The Navigation block in the FSE offers several ways to add and manage WordPress menu items.
By default, the Navigation block might automatically populate with your published pages. You can either use this as a starting point or remove these items to create a custom menu.
- Once the Navigation block is selected, you'll see a "+" icon within the block. Click it. You can then search or select the menu item easily.
- If you wish to change the order of the menu items, simply use the drag-and-drop feature.
- You can even create sub-menus by simply selecting the menu item you have to create a sub-menu of.
- Click the "+" icon that appears within that menu item.
- Add the sub-menu items (pages, posts, custom links, etc.) as described above. Drag and drop them to arrange them under the parent item.
Once you've configured your menu to your liking, click the "Save" button in the top right corner of the Site Editor.
Visit your website's front end to see your newly created custom menu in the header.
2. WORDPRESS PLUGIN - Create a Custom Menu using a Page Builder Plugin.
Creating a custom menu using best WordPress Page Builder plugins depends on which plugin you're using (like Elementor, Beaver Builder, WPBakery, etc.), but here's a general step-by-step guide using Elementor, one of the most popular builders:
Here, we are using Elementor page builder to create a custom menu. But first, it is needed to install and activate the Elementor builder plugin.
- On your WordPress dashboard, head to the Plugins section and then hit the Add New button.
- Search Elementor under the search bar. Tap the Install and then the Activate buttons.
- Next is to create a new header template, and for this, reach the Templates option under the Theme Builder section.
- And now, under the Add New Header section, tap the Header option and give it a name.
- Now, you need to add the Nav Menu widget by dragging the Nav Menu widget onto the canvas.
- Choose which WordPress menu to display.
- Style it using the panel.
- Next, it is essential to customize WordPress themes, and for this, add a section and place the Nav Menu widget inside.
- Optionally include: Logo, Button, and Icons. Use columns to arrange these elements.
Lastly, click Publish and choose where this custom header should appear: Entire Site. Specific Pages, Categories, etc.
3. CUSTOM CODE - Create a Custom Menu using Codes.
Creating a custom menu using code in WordPress involves registering the menu in your functions.php file, displaying it in your theme files, and optionally adding styles.
Firstly, you need to register the menu, and for this, you need to paste the below code to the theme’s functions.php file:
function register_my_custom_menu() {
register_nav_menu('custom-header-menu', __('Custom Header Menu'));
}
add_action('after_setup_theme', 'register_my_custom_menu');
Now, we need to create a menu in the WordPress Admin area. To do this, go to the Appearance tab under the Menus section. Tap Create a New Menu, add pages or items to it, and finally, assign it to the Custom Header Menu. Now, we need to display the menu in the theme file, usually in the header.php by using the below code:
<?php
wp_nav_menu(array(
'theme_location' => 'custom-header-menu',
'menu_class' => 'custom-menu-class',
'container' => 'nav',
'container_class'=> 'custom-menu-container'
));
?>
This is how your custom menu is created using manual coding.
Conclusion
Creating custom menus in WordPress, while offering flexibility, doesn't have to be a complex endeavor. WordPress provides user-friendly tools and powerful plugins that significantly simplify the process.
WordPress empowers users of all skill levels to create effective and visually appealing custom menus. Whether you prefer the simplicity of the native menu editor or the design flexibility of page builders, you can easily tailor your website's navigation to enhance user experience and site structure. The key is to choose the method that best aligns with your technical comfort level and specific customization needs.


