
Introduction
An online marketplace website is getting a wider spread in the E-commerce world. Here, users themselves can sell their products as if their mini online store. This concept of gathering multiple store owners is even known as a multivendor store.
This is the modern concept of getting your brand endorsed well on the web. While it becomes easier to create an online store community with the motive to widen your business. Multiple vendors are thus finding it efficient to connect their online stores with a marketplace.
So, initiating an online marketplace is a complete win-win solution to widen your business. But the thought itself is not the right execution. You need to apply the perfect steps to make a marketplace website. And so, we are here in this blog to guide you perfectly throughout your design process.
What is a Marketplace Website?
A Marketplace website is a platform that allows users to become a store owner to sell their products for sale. Also, this place allows multiple vendors to equally sell their products just like a mini store.
The online marketplace owner does not manage the inventory nor does sell the products. But, there is a separate space where you own and manage your products selling on the website. When you allow multiple vendors to sell their products on your site, your revenue gets boosted. This is a two-way earning business where the marketplace owner and the vendor earn at the same time.
While this is not a thing of less time when you can invite multiple vendors and create an empire. The start is small and eventually more vendors get along with your idea to contribute to the marketplace. There are marketplaces like Amazon, Etsy, AliExpress, Myntra, and more such marketplaces have built a huge empire.
How to Make a Marketplace Website using WordPress?
Here is the set of vital steps to know how to create a Marketplace Website using WordPress.
- Get a web host and a domain
- Install WordPress
- Install and Configure Woocommerce
- Get a Good Marketplace Theme
- Add Essential Plugins
- Add Products
- Setup Shipping
- Setup Payments
- Test your site and Launch
1. Get a Web Host and a Domain
To start with, first, to make a marketplace website requires to have an identity and a place to stay and run on the internet. That comes when you have got the domain and a web host for your website.
Talking about the domain is the addressing element of your website. This is the unique address that represents your site when put on the browser. The domain starts with “www” and ends mostly with “.com”, “.in”, and “.co”. When choosing the right domain, you need to know that the domain must be simple and clear. It should be easy to pronounce and precise. No special characters, uppercase letters, and symbols must be used.
And the web host is the ultimate place on which your website stands on the internet. It is the place where all your website data files and confidential files are stored. A web host provides a complete server space through which your site runs on the internet. It is the complete home to your website and the domain is the address of your site. A web host is responsible for your website’s reliability, security, and overall performance. Also, when you are building an E-commerce site, it is vital to choose the right web host plan.
But, let me make this clear to you Bluehost is the most recommended one. There is no web host like Bluehost, as it comes with a complete space for your website. One interesting fact that makes Bluehost the top is it comes with a free domain. Not only this, but it excels in terms of functionality, performance, and security.
Steps to Activate a Hosting Plan for Your Website:
- So, to get started with Bluehost, firstly you need to visit the official website of Bluehost and tap the Get Started button.
- With this, you will be taken to select the right plan for your Marketplace website. Whichever plan you choose, note that every plan comes with a free domain name for a complete year.
- Once you have chosen the right plan, you are now on the next page to select the right domain for your site. Here, you can choose from the new domain or the existing one and move ahead.
- Finally, you have reached the checkout page where you need to fill out the necessary account details. Once done, complete the purchase by paying for the selected plan.
- After the purchase, immediately an email with a message about the successful completion of your purchase. Also, it contains the login credentials for WordPress.
2. Install WordPress
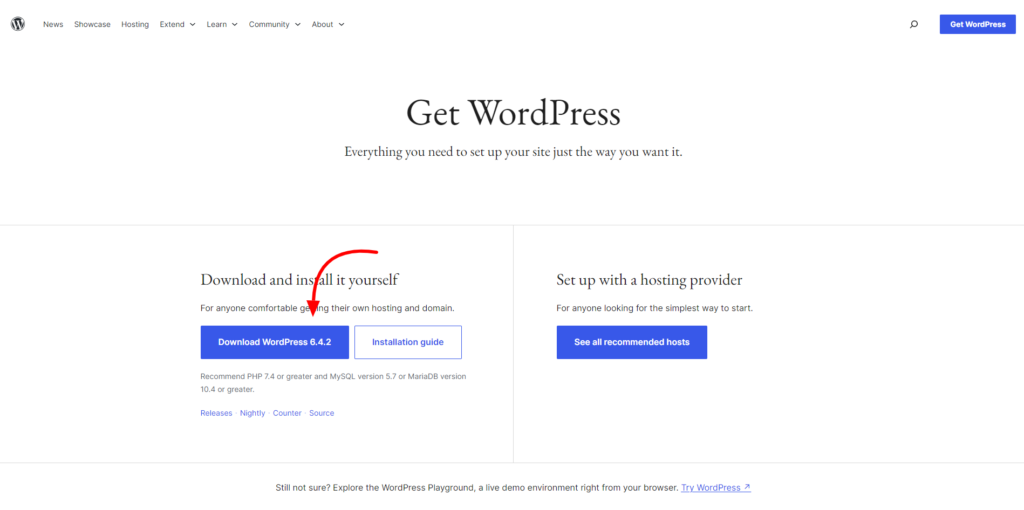
The time has come when you need to install WordPress to begin with your website. WordPress installation has been made very simple with Bluehost. It makes WordPress installation just with a single click when you have received the email.
You just need to tap on the link in the email and WordPress will get installed for you. To log in to WordPress, simply reach the cPanel of Bluehost on the right side of the page. Then tap the Install WordPress and simply put on the login credentials and you are in. You have a blank WordPress website ready with Bluehost hosting service with you. So here completes your second step to make a marketplace website.
3. Get a Good Marketplace Theme
You have WordPress Installed along with Woocommerce on your Marketplace website. Now, it is time to get a well-qualified theme for your website to make it look innovative.
A theme plays a vital role in your website as it remolds the entire design of your website. A theme is a collection of templates, code files, and plugins to enhance the front end of your site. A website comes in its actual state when attached to a theme. By default, your WordPress website comes along with a theme. You can either customize it or get a new theme.
Well, getting a new theme is the best way as you get a pre-built website model when you choose the right niche theme. For the Marketplace website, you will find various free and premium themes in the market.
But choosing the right theme is again a crucial task to do. So, taking out your stress, we suggest this premium Marketplace WordPress Theme.
The theme is powered by VW Themes which is a certified platform of WordPress Themes and plugins. VW Themes work for the users and their requirements while getting a website ready. And the premium Multivendor Marketplace theme is the best you can get for your Marketplace website.
Multivendor Marketplace WordPress Theme

The premium Multivendor Marketplace WordPress Theme is a top-tier tool to handle a marketplace website. This smartly designed theme turns out the best when it comes to multivendor businesses. It is built using the best features and the latest WordPress versions using HTML and CSS codes. This gives you the most customizable and intuitive interface to handle. The creative theme has a spacious design that is easy to use and customize. It can be used to set up any sort of E-commerce, multivendor, and online store website.
Its unique slider and sidebar options help in building the right assets for your multivendor website. The theme is perfectly tailored with so many innovative templates and layout features to handle. You can give your multivendor store a unique appearance and an organized interface. As said, users can easily drag and drop elements that make up your store pages and posts. Also, the design is fully responsive so that your site fits well on every screen. No matter whether you are a beginner, the theme requires no codes or developer charges for web design. Further, the theme adds various plugins and Woocommerce to build your store. Additionally, it adds social media icons, custom widgets, and RTL features.
This was about the Multivendor Marketplace theme for your site. Now you must know how to install this theme on your website.
Theme Installation Steps:
- To install this creative theme, reach the WordPress dashboard area and tap the Appearance section.
- Then among various options, select Themes and then the Add New button.
- Then on the next page, type the name of the Multivendor Marketplace theme. Once found, tap the Install button and then the Activate button.
- After Installation and Activating the theme you can import the theme demo in just one click.
3. Install and Configure Woocommerce
The most important step comes when you need the right pillar to make a Marketplace website. When it comes to building an E-commerce website with WordPress, the only name that comes is Woocommerce. Woocommerce is the only way you can give a perfect molding shape to your E-commerce website. It is the perfectionist website builder that keeps the E-commerce game on point with additional extensions to add.
- So, the prime step is to install and configure Woocommerce on your site.
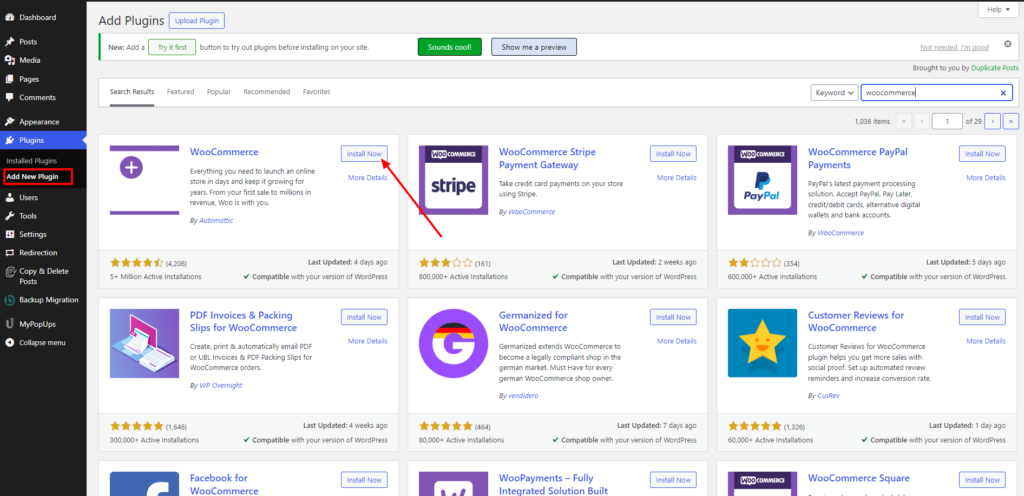
- To install Woocommerce, reach your website’s dashboard and tap the Plugins tab.
- On the Plugins page, tap the Add New button to get a new plugin. On the next screen, type woocommerce in the search panel.
- Once you have found the plugin, simply press the Install and then the Activate button. That’s how you have Woocommerce installed on your website.
- Immediately after this, there comes the setup wizard where you need to fill up all the necessary details of your online store.
- The “Welcome to Woocommerce” page will ask you for the correct address line of your store. Then you need to add the industry type of website. We are Making a Marketplace website, so the industry would be E-commerce.
- The next setting is to choose the product type, here you can choose from physical and digital products.
- Then it will ask for the right business details and lastly the theme.
4. Install Essential Plugins
The next vital step is to get the right plugins for your site. Before that, let me tell you that Plugins are the tiny software elements that boost functionality. These are the handy tools that when attached to your site, raise the overall functionality. WordPress serves around 55000 active plugins in its directory available for almost every function you need. And these are further parted as free and paid plugins. You cannot get all the plugins for your site. There needs to be a good understanding of which plugins are needed for your niche website. So to break your stress, we are here with some of these vital plugins to install to make a marketplace website.
- Dokan – This is the ultimate plugin to turn your normal website into a perfect marketplace. The plugin can create a complete multivendor marketplace like Amazon and eBay.
- YITH Woocommerce plugin – This is another vital plugin supporting marketplace websites.
- Yoast SEO – This is the ultimate SEO plugin that helps in optimizing your site for search engines.
- WP Easy Cart – Advanced carting options can be easily placed using this WP Easy Cart plugin.
- WP Forms – Adding contact forms on your Marketplace site is easier with this WP Forms plugin.
- Wordfence – The ultimate security plugin that keeps your site away from security breaches and vulnerabilities.
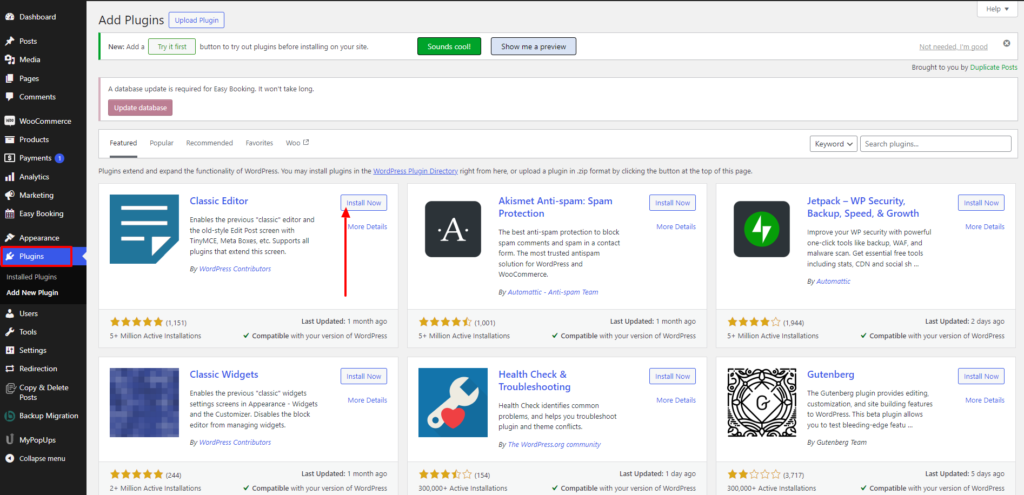
- To install a plugin, simply reach the WordPress dashboard and tap the Plugins tab.
- The next page will show you the list of already installed plugins. From there, you need to tap the Add New button and search for the plugin you wish.
- Once you have found the plugin, simply press the Install and then the Activate button.
- So, this will finally activate the plugin on your site.
5. Add Products
As for the marketplace, you are inviting vendors to sell their products on your site. So, it is vital to know how to upload products for selling on the website. This is equally important for the vendors to know how to upload products.
So to enable vendors to upload products easily on your site. For this, you need to allow vendors to access the dashboard. And the login details are automatically sent to them after adding them as a marketplace candidate. Reach the Settings section under the Woocommerce plugin and then the General tab.
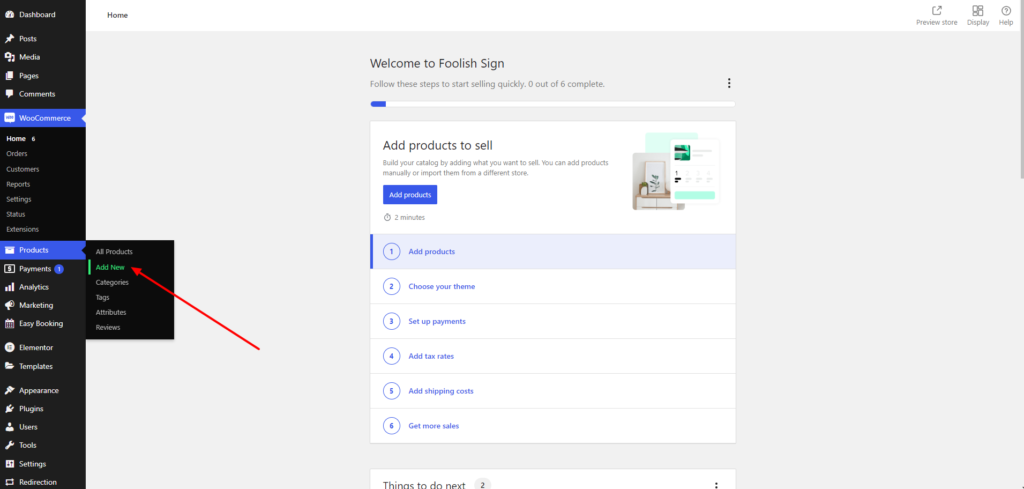
You need to check the first box with “Disallow vendors and customers to access the admin area”. Under the Selling options section, check the box in front of the New Product Upload option. And now, this will allow vendors to individually upload products by their side. To add Products, simply reach the Products section under the Woocommerce section of the dashboard area.
Then tap the Add New option and you will reach the blank product editing screen. Here, you can set the title, description, inventory, shipping, and more options for your product. Also, there is the media upload section to add images or videos of the product. Once you are done, tap the Publish button, and the product is uploaded.
6. Setup Payments
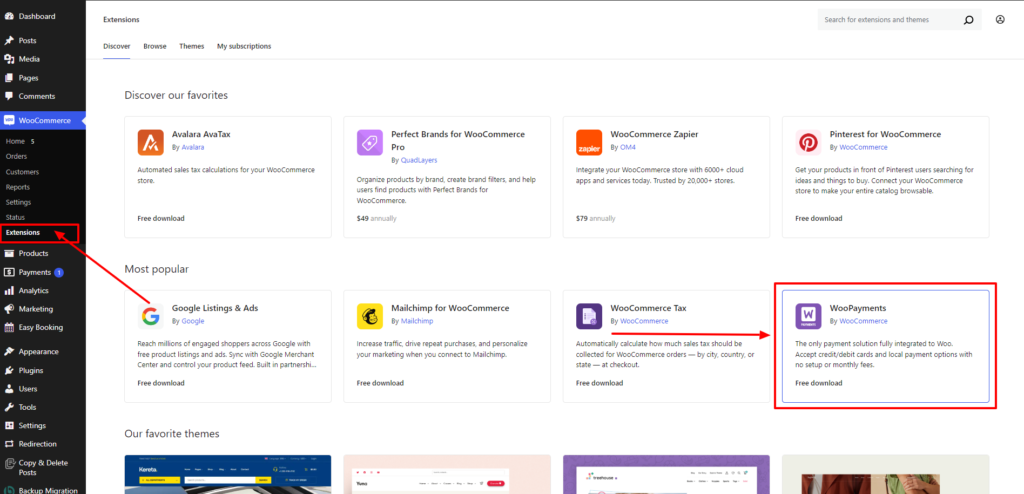
Again setting up payments on your site is a vital thing to do even when you have an E-commerce website. And accepting online payments is made much easier when you have woocommerce with you. It offers various payment options like bank transfer, credit debit, COD, UPI, and more.
However, this setting comes under the store owner, not the vendors. What vendors can do is to set the tax. And that too requires the Woocommerce plugin which allows integration payment options like PayPal, stripe, and more.
So, to begin with, you need to reach the Settings tab under the Woocommerce section. Head to the General section and enable the Taxes option under the Tax tab. Then toggle to the Payments tab and you can select the payment types you need to enable on your site.
7. Test your website and launch
When you are done with adding each stuff that builds up your marketplace site, you need to take a quick preview test. This shows how your website will work after launching on the web. You must go through all the necessary pages and sections of your site. Make sure they are loading properly and fast. Also, test your site on every device ensuring the responsive design. Keep your plugins and free or premium WordPress themes updated on your site and make sure they are not causing any tension on the site. Also, you must purchase as a customer to ensure the checkout and conversions are properly working. Once you make sure the aspect of your site, simply launch your site on the web.
Conclusion
That’s all about how to make a marketplace website using WordPress Themes. You must be well-versed in the marketplace and the website creation. A marketplace website creates a separate space for various vendors to sell their goods. Here, vendors own their mini stores to sell their goods with the self-ownership. Eventually, the profit turns out for the website owner and the vendors selling their goods.
Making a marketplace website is not a crucial task when you have guidance with you. And the above blog is the right guide for you to create a Marketplace website. Also, we have guided you in the simplest way to create a marketplace website with the right steps. The initial steps are to choose the right domain and the hosting. Then comes the WordPress installation, theme selection, adding products, plugins, and more. We have made every step possible in its simplest way to understand you. So, start building your marketplace website with the above guide.
Additionally, with our WordPress bundle, which includes multivendor themes that are cross-browser compatible and feature-rich, you can kickstart your marketplace project with confidence. Whether you’re building a niche marketplace or a large-scale eCommerce platform, our bundle provides the tools and support you need to succeed in the competitive online marketplace landscape.


