
Introduction
Today, marketing your brand is the most vital asset you can use to get it promoted well. This is the foundation for getting addressed easily on the web. Whether you are a blogger or a business website, digital marketing is much needed.
One of the most blooming categories is influencer marketing. Influencers are hired by brands to promote their products on the web. This way Influencer Marketing Agencies are seeking the limelight.
Influencer marketing agencies are tied up with influencers so that brands can easily connect with them. On the contrary, influencer marketers too need a website so that brands can easily opt for your services. And to get an influencer marketing website, we have made a comprehensive guide to it. Let’s get started.
What is an influencer website?
Influencer marketing is meeting its professional standards to maintain modern marketing practices on the web. You must have heard about digital marketing for brands, right?
As social media takes over every brand, influencers are gaining more momentum to promote any product. This is the most effective strategy, where you pay any influencer to boost sales and traffic on your site. Along with maintaining offline customers, there is a need to organize organic traffic too. This is why influencer websites come in contact.
Influencers and content creators do need the same online presence so that more brands can connect. Or agencies must have a couple of influencers tied up that must go for a website. Getting an influencer website is beneficial, giving a great punch to your business. If you haven’t built one, then now is the time to create one using this blog.
We are using one of the most renowned website-building platforms, WordPress. Website building couldn’t be easier when you are using WordPress. Let’s get started.
Steps to Create an Influencer Marketing Website with WordPress
1. Invest in a domain name and hosting service.
- When you have decided to build an influencer website, it’s time to take action. The first and most vital step is to get a hosting service for your site.
- This is where your site data will reside, and the site will have a personalized server to load things on the web. Likewise, getting a certified hosting service affects your site’s performance, security, and sales.
- Also, it becomes crucial to get a certified hosting service among so many options to choose from. But we have made it easier for you in this blog.
- While choosing a certified hosting platform, you might have come across the Bluehost hosting service. Don’t miss this hosting platform, as it sets a complete stage for web design for you.
Bluehost
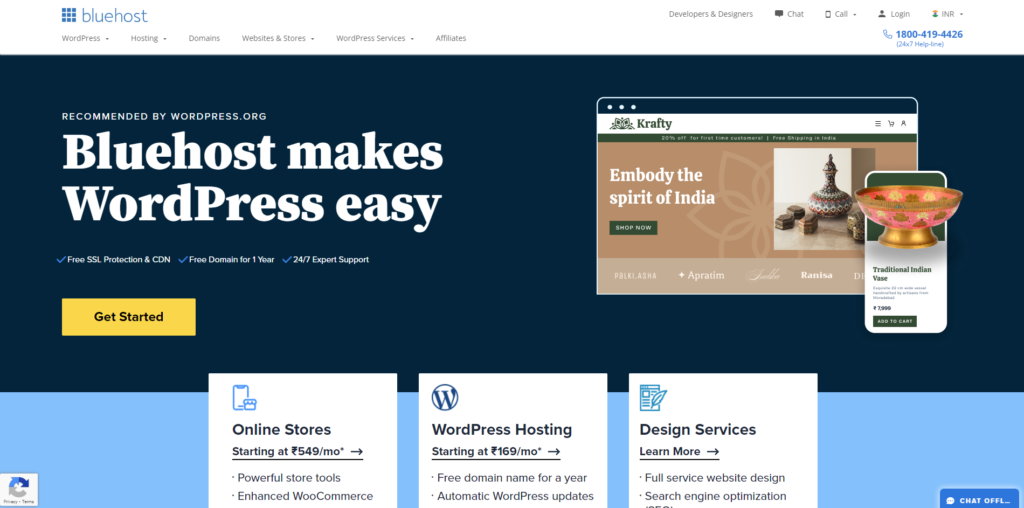
Bluehost is a certified hosting platform with reliable pricing plans, effective support, uptime capabilities, and much more. This is a well-known hosting service that specializes in building WordPress websites. And let me tell you that this professional hosting comes with effective prices along with a free domain as well.
A domain is the address to which your website is called by users. It mainly ends with “.com,” “.co,” or “.in.” Simply know that the hosting is the home of your site, and the domain is its address.
- So to begin with Bluehost, reach the Bluehost site and tap the Get Started button to move ahead.
- You will meet different subscription plans to have Bluehost for your website. You can choose from the basic, plus, and pro plans accordingly. We highly recommend the WordPress plan, as you get a free domain for a whole year and more web design assets. It even includes automatic WordPress updates along with CDN services.
- So, to get started with Bluehost, you simply need to choose the WordPress plan. The next page will guide you in adding a domain name to your influencer marketing website.
- Here you will find two columns for adding a domain to your site. You can either create a new domain or go with the previous one.
- Once done, the next page will be the account and billing page. You must enter all the correct account details to finalize the payment.
- Immediately after this, you will receive an email with the WordPress link and login credentials.
- After this, you can visit the hosting dashboard, where you can easily control everything. And the most vital part is where you need to install WordPress.
2. Install WordPress
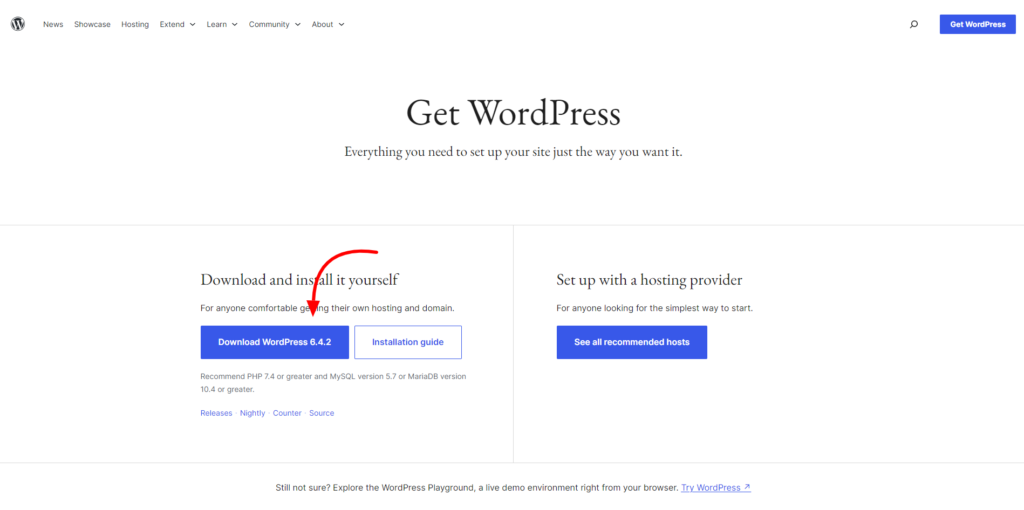
- WordPress installation is much easier when you have Bluehost with you. It is specially made for non-techy users so that they can get it with a single click.
- You simply need to follow the link in the email, and on the Bluehost dashboard, you will see the Login to WordPress button.
- After this, WordPress will be installed for you.
- You now have a blank website ready to bring out the best influencer marketing content.
You can a detailed knowledge of what things to do after installing WordPress in our previous blog.
3. Choose the best influencer marketing WordPress theme.
- Now you have the blank WordPress website ready with you. It’s time to be innovative by adding one of the best influencer marketing themes.
- You must first know that it becomes crucial to find the best theme out of so many options on WordPress.
- An ideal theme must possess the latest WordPress versions, be well-optimized, and be user-friendly. Also, the theme must possess all the latest features and design feels. It must be integrated with the latest marketing plugins, too.
- Finding such a theme is a daunting task, but let me make this simpler for you. VW Themes brings you one of its best themes, the Influencer Agency theme.
Influencer Agency WordPress Theme
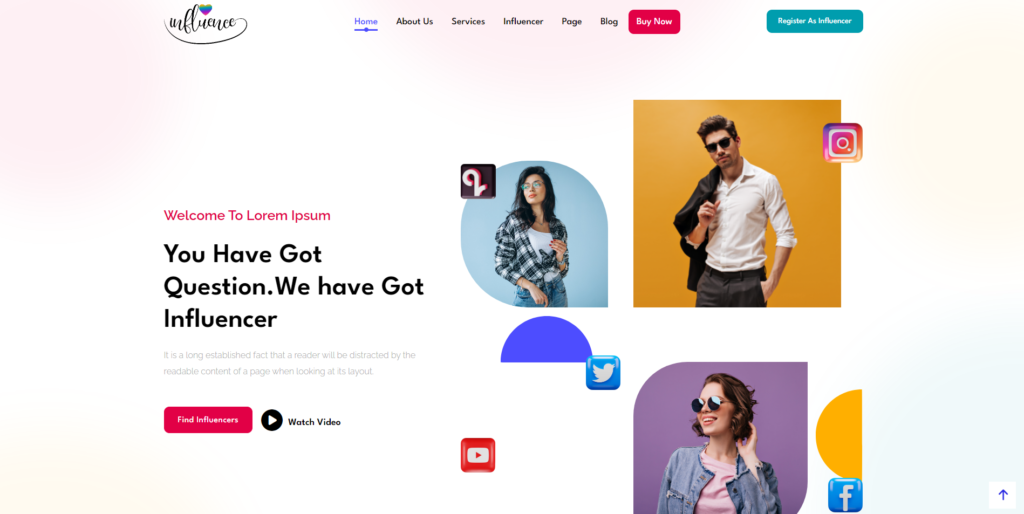
Crafted with aesthetic feels, this Influencer Agency theme turns out to be a banger for influencers and content creators. This professional theme is even compatible with influencer marketing agencies. You don’t need to look back to get your niche to stand out in the digital crowd. This ultimate game-changer is with you, giving all the modern and premium WordPress theme features. The designs are crafted with precision, with cleaner and more sophisticated backgrounds. This makes your content highlight in the most effective manner you can ever have. Content creation cannot be this easy when you have this fully functional theme.
In terms of functionality, this theme gives ultimate control with its advanced HTML and CSS integration. You can design your dream influencer website in no time, and that too without any developer help. It seamlessly integrates with WooCommerce and more plugins to increase functionality. Plus, it follows a completely optimized design, giving a boost to performance and user experience. Social media integration is its specialty to promote your site well.
Steps to Purchase Influencer Agency WordPress Theme:
- Now that you have the best influencer marketing website theme, it’s time to learn about the installation process.
- What you need to do is simply visit the VW Themes page and tap the Themes category on the homepage.
- Once it is opened, search for the Influencer Agency theme in the search box. Once found, tap on the theme.
- You will reach the Influencer Agency theme page, along with a detailed description and purchasing buttons. Scroll down a little, and you will see four buttons, of which you need to tap the “BUY NOW” button.
- The next page will ask you to enter the account and billing details to proceed with the purchase. Once done, the zip file for that theme will be downloaded to your PC.
Activating the Theme in WordPress
- You simply need to visit your WordPress site, and under the dashboard area, tap the Appearance tab.
- Among various options, tap the Themes option, and you will reach the Themes page.
- Ignoring that, simply head to the top and tap the Add New button to add a new theme.
- The next page will have two sections: either you search for the desired theme or you upload the zip file. Since we have our theme zip file ready, we will tap the Upload Theme button in the top area.
- Here, you need to tap the Choose File option again and select the zip file you just downloaded. Once uploaded, tap the Install Now button beside it. This will immediately install the theme on your website.
- The next page will show you the message with successful installation along with the Activate button. Tap the activate button to get it on your website.
- After successfully activating, the theme homepage will be opened with various menus to explore. Firstly, you need to enter the license key that you received while purchasing it.
- Simply enter it, and this way you can explore more tabs like support, plugins, setup wizard, and more. Once you have visited all the tabs, you will next find the Demo Importer section. Here, you will get two options to get the demo importer: the customizer demo and the block demo.
- Here, we will go with the Customizer Demo, and the best part is that it gets your website ready in just a single click. Once you have tapped the Customizer Demo importer, a window with two options will appear. And simply tap the Finish button at last.
You read our previous blog for getting a detailed knowledge of how to install WordPress theme for your website.
4. Install the necessary plugins.
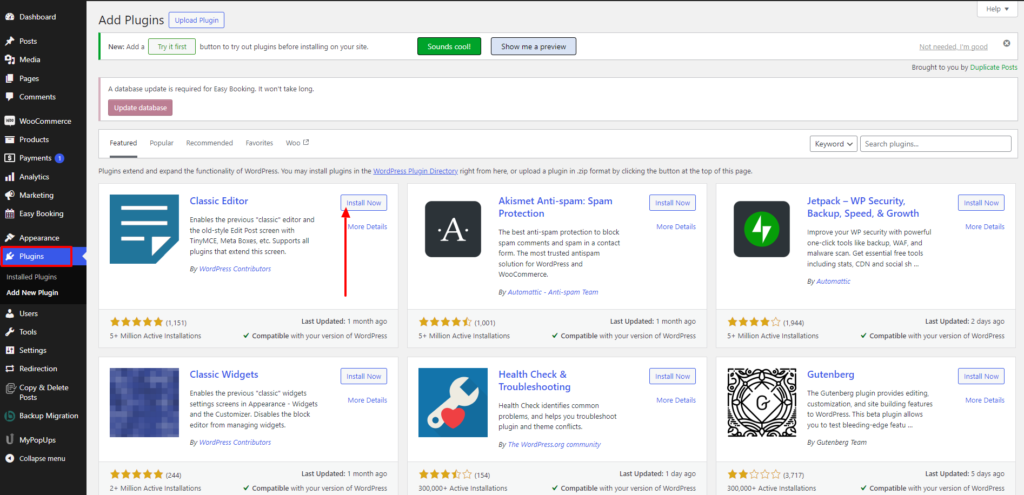
- Your theme has been set, and now you can make it more functional by adding the necessary plugins. Plugins are the most vital entities you must add to your website. These are the tiny software modules getting extensive functionality for your site.
- You don’t need to do much for it, as you can easily install plugins right from the time of configuring the plugin settings.
- One interesting part is that the theme installation comes with some integrated plugins for you. You can easily install them from the theme’s homepage in the plugins section. You’ll find plugins such as WooCommerce, Contact Form 7, payment gateways, search plugins, social media integrations, and SEO tools available.
- To get all these plugins right under your website, simply visit the Customize Demo Importer, and you will find the Plugins menu on the homepage.
- Simply tap, and you will reach the plugins page with the list of integrated plugins. Simply tap the Install Plugins button, and there you go. All the plugins will be installed with a single click.
- Apart from this, you can try out another method to add external plugins to your site. You simply need to visit your website’s admin dashboard and find the plugins section.
- You will reach the Plugins page with the already-installed plugin list. From there, tap the Add New button, and you will reach the plugin directory.
- On the search panel, search for your desired plugin, and once found, tap to install and activate it.
- This way, you can easily install and activate every plugin on your site.
5. Test your influencer marketing website.
- When you are done with all the customization, it is time to do a quick test of your site. It ensures that your site will work efficiently after being sent live on the web. So let’s test the site by registering as an influencer.
- On your site homepage, tap the “Register as an Influencer” button in green at the top. You will be asked to fill out the form with the necessary niche details to add. Simply fill out the form and tap the submit button at the end.
- Next, we will raise a service and purchase one of the categories listed. Simply tap the services tab from the top, and you will be taken to the services page.
- Tap on any service and click the Buy Now button. Fill up the payment details, and it’s done.
- You will now start receiving collaborations or messages from the brands via order details. This is how it works.
- Moreover, you must test whether all the necessary pages are working well or not. Watch out that they are loading fast; test all the plugins and the payment workflows too.
- You must even identify the bugs and errors and try to debug them before launching it.
6. Preview and make your site live.
- After completing all the necessary additions and removals of features and elements, it’s time to preview the live version.
- Kindly visit your site before launching it on the web. Once you are assured that everything looks its best, make your website live. Once sent live, you can now promote your site on various social channels.
Conclusion
Creating the ultimate influencer marketing website is a blend of strategic steps and creative prowess, offering a platform that resonates with audiences and effectively showcases your brand’s influencer collaborations. By following these steps, you’ll be able to craft a compelling digital hub that stands out in the competitive realm of influencer marketing.
You can checkout our comprehensive WordPress theme bundle which provides a collection of curated WordPress themes. You can easily customize these themes for your website with ease of various plugins integration.
Firstly, laying the groundwork involves selecting a robust web hosting service and a suitable domain name, ensuring a strong online presence from the get-go. Next, choose a versatile and visually appealing WordPress theme that aligns with your brand’s identity and effectively highlights influencer content.
Structuring the website with clear navigation, an impactful homepage, dedicated pages for influencers, collaboration opportunities, and a blog section adds depth and usability. Leverage high-quality visuals and compelling content to engage visitors and showcase successful influencer partnerships.
Lastly, prioritize mobile responsiveness and conduct thorough testing before the website’s launch to ensure a seamless user experience across all devices.


