Importing a WordPress site to a new hosting company or server can be difficult. There’s always a high risk of losing data and having downtime. Luckily, there are ways to do it safely and with minimal disruption. This article will share a quick guide for importing WordPress site to new host without losing data or causing downtime.
We will also answer common questions about moving to a new hosting provider. By following this article till the end, you can ensure that your WordPress migration goes smoothly and minimizes disruption to your visitors and customers.
Why Is Importing WordPress Site To New Host Important?
If you have a WordPress site, you may want to import it to a new hosting provider for two reasons: first, if your current host isn’t good enough and you want to switch to a better one. Regardless of why you want to move your WordPress site, it can help your business establish an online presence in the long run.
As a site administrator, you may feel overwhelmed by the work of importing your WordPress site to a new host. But don’t worry. We believe this guide help you, even if you don’t have programming experience.
Choose A WordPress Hosting Company Where You Want To Import
If your website is slow and you’ve already tried to speed it up, it might be time to import to a new web host that can handle more traffic. But when picking a new WordPress hosting provider, you need to be careful so that you don’t have to switch again soon.
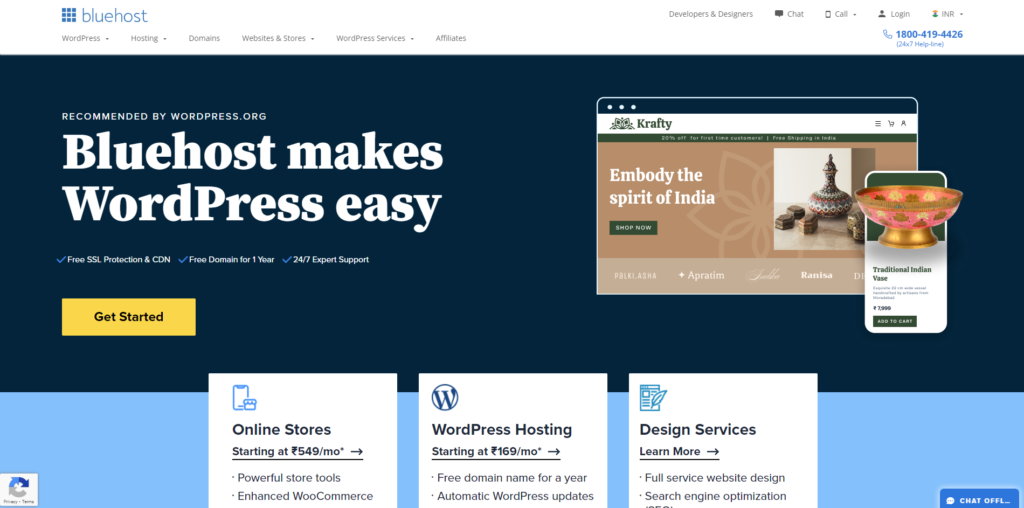
For reliable shared hosting, we recommend Bluehost. If you need faster-shared hosting, GoDaddy is a great option. They’re one of the leading WordPress hosting companies and provide faster servers with excellent customer support.
If you need cloud hosting or location-specific providers, check out WP Engine. They have data centers on three continents and offer excellent services to meet your requirements. And if you’re looking for managed WordPress hosting, SiteGround is the best and most well-known provider.
After you’ve purchased your new hosting, don’t install WordPress yet. We’ll guide you through that process later. Be sure your new web hosting account is empty, with no files or folders.
Set Up An Migration Plugin For Easy Import
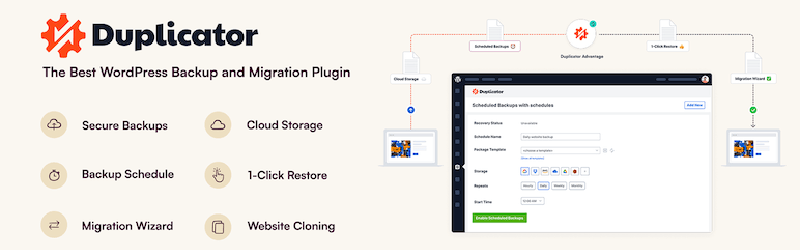
Duplicator is a top-notch WordPress migration plugin. Begin by installing and activating the plugin on the website you want to transfer.
Duplicator is a helpful plugin to importing WordPress site to new host easily. It offers automated scheduled backups, cloud storage support, and smart migrations, among other features. The premium-level version, Duplicator Pro, has more features than the free version, Duplicator Lite.
Once you have installed and activated the plugin, go to the Duplicator and follow the Packages page in your WordPress admin area. Click the ‘Create New’ button in the top right corner to start the backup process.
It is possible to name your backup or skip this step by clicking the ‘Next’ button. The plugin will scan your system to ensure everything is in order before preparing the package.
Make sure your scan results are all good, then click the ‘Build’ button.
Once the process is complete, you’ll see download options for the installer and archive package. You should click the ‘Download’ button and select ‘Both Files.’
The archive file is a copy of your complete website, while the installer file will automate the installation process for you.
Getting Your WordPress Site On A New Host
When moving your WordPress website to a new host, you should transfer the archive and installer files. To do this, connect to your new host via FTP.
Normally, you would use your domain name as the host, but since your domain is still with your old host, use your server’s IP address or hostname instead. Your new host’s control panel should have this info. If you can’t find it, ask your new host for help.
Use the FTP client to transfer the installer.php and archive .zip files to your website’s root directory, which is usually the /username/public_html/ folder. If you’re not sure, ask your web hosting company.
Make sure your root directory is empty. Some web hosting companies automatically install WordPress, so you may need to delete it first. After that, upload both the archive zip file and installer.php file to your website’s root directory.
Prevent Downtime By Updating The Hosts File
When you upload files to your new web host, you should access the installer.php file on your web browser. Usually, you can find the URL to access this file as http://www.example.com/installer.php. However, you may get a 404 error because your domain name is still pointing to your old web host. Some tutorials may suggest changing your domain nameservers and pointing to the new hosting company, but that’s not an ideal solution. Doing so will result in visitors seeing a broken website during the migration.
You can temporarily access your new site on your computer without affecting your old site. The host file on your computer can help you achieve this. It allows you to map domain names to specific IP addresses. This tricks your computer into believing that the website has moved.
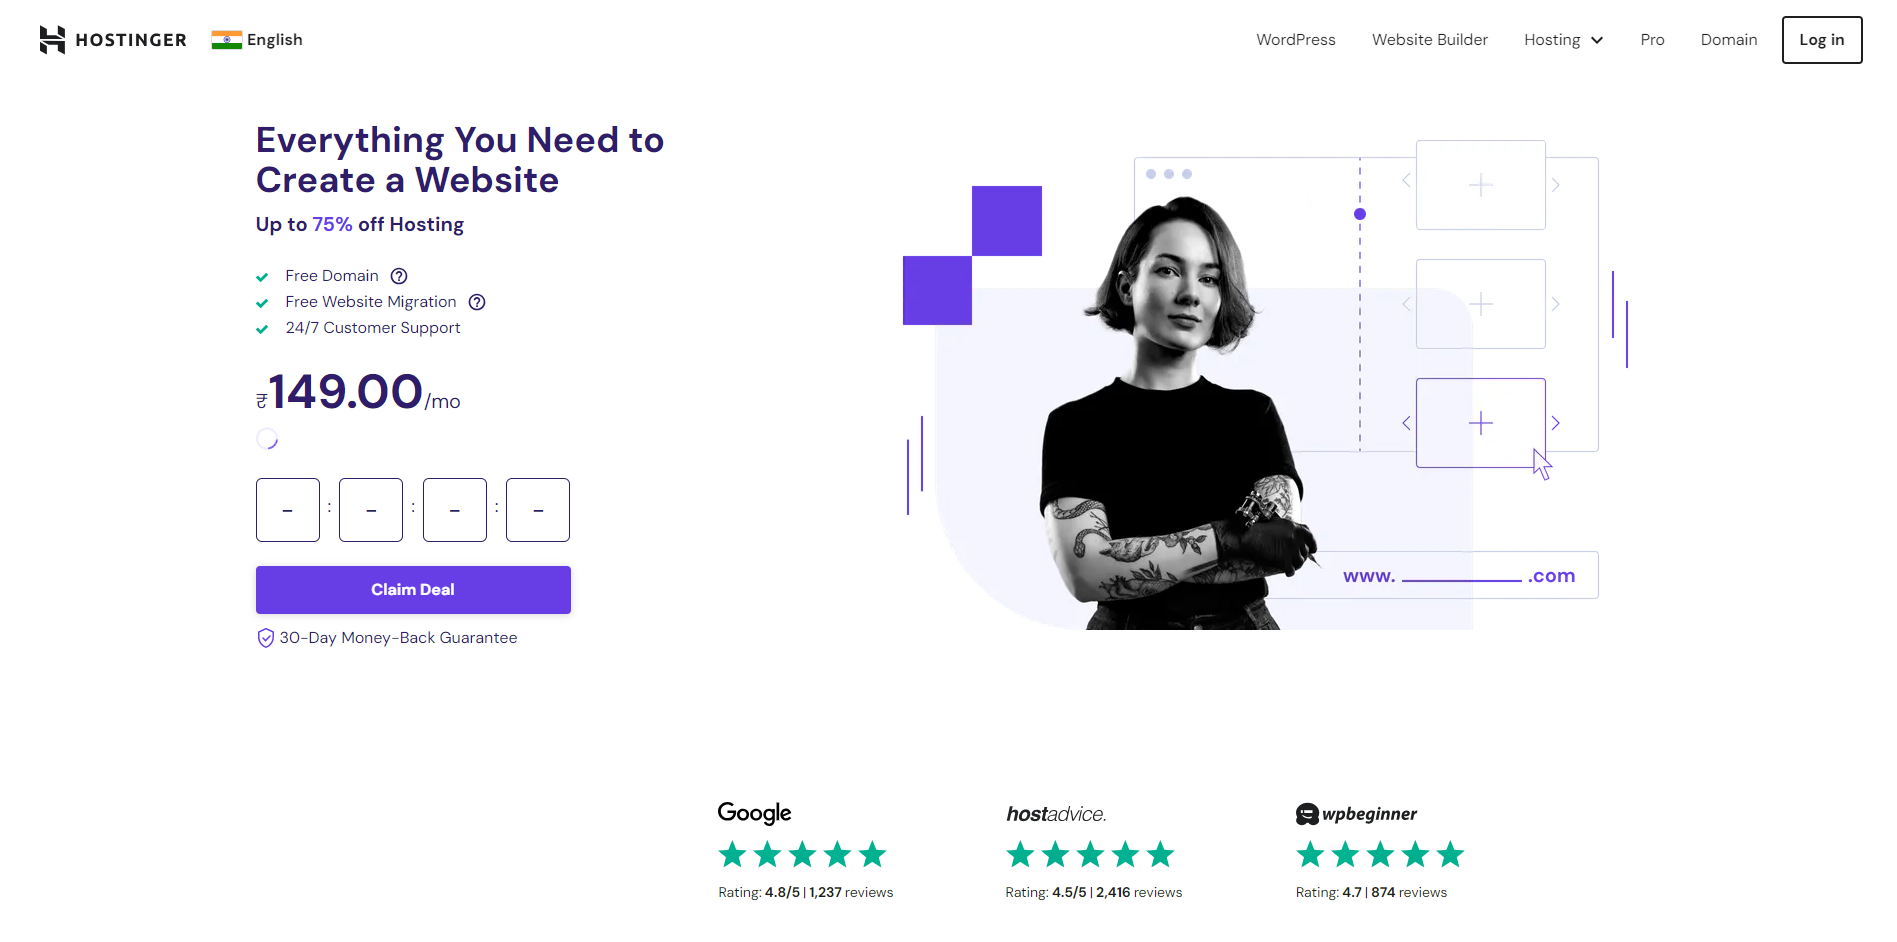
To point your domain name to your new hosting company, you need to find the IP address of your new web hosting server. Log in to your cPanel dashboard and click the expand stats link in the left-hand sidebar. You will find your server’s address listed as “Shared IP Address.” For example, on Hostinger, you’ll find your server IP address under your hosting plan details.
If you’re using a Windows PC, open the Notepad app with administrator privileges by clicking the “Start” button. Look for the Notepad app. Right-click on the Notepad app icon and select “Run as administrator.” A Windows UAC prompt will appear, and you must “Yes” to launch Notepad with administrator privileges. On the Notepad screen, go to File » Open and navigate to the C:\Windows\System32\drivers\etc folder. Select the host file and open it. These are a few steps for importing WordPress site to new host, but this is not all their are few more steps.
If you’re a Mac user, open the Terminal app and enter this command to edit the host’s file:

At the bottom of the host file, enter the IP address you copied and your domain name. Ensure that you replace the IP address with the one you copied from cPanel and the example.com with your domain name. Once you’re done, save your changes.
With these changes, you can now access your files on the new host using your domain name on your computer. This ensures 100% uptime, and visitors to your website will still access the old site.
Creating A MySQL Database On Your New Hosting Account
Once you’ve successfully saved a copy of your database, you’ll need to create a new home for your files and select someone to manage it. Here’s how to do it:
- Go to the “Databases” section in your cPanel account, which is where you’ve switched to.
- Click on “MySQL Databases.”
- Choose a name for your new database, and it will appear in the “Current Databases” table of your cPanel account.
- Under “Add User to Database,” choose the user you want to add from the User list box and select the new database from the Database list box.
- You can give the new user specific privileges or select the “All Privileges” check box to give them all permissions to the database.
- Once you’ve made your selections, click “Make Changes,” and cPanel will add the user to the new database automatically.
- This makes WordPress database connection easily.
Start Migrating the Process Of Duplicators
We’re ready to start the installation process. Here’s what you need to do:
- Open your browser and go to the URL_1 web address. Make sure you replace example.com with your domain name.
- During the installation process, the installer will run some tests. You’ll see ‘Pass’ beside the archive and validation tests once it finishes.
- Check the terms and conditions box and click the ‘Next’ button to proceed.
- You’ll be asked to enter the host, database name, username, and password for your MySQL. Your host should be localhost. Enter the information about the database you created earlier.
- The Duplicator will check if it can connect to the database and execute the installation. Click the ‘Validate’ button at the bottom to move on. If the Duplicator can connect successfully, you’ll see the test results as Pass.
- Check the terms and notices box and click the ‘Next’ button.
- Click the ‘Next’ button again to continue. The Duplicator will import your WordPress database from the archive zip into your new database.
- You’ll be asked to update the site URL or Path. If you aren’t changing domain names, there’s no need to modify anything here. Just click ‘Next’ to move on.
- Lastly, the Duplicator will complete the final steps and present you with the login button. Click it to log in to your new WordPress site and ensure that it’s running smoothly.
Make Sure Your DNS Settings Are Updated
After you’ve transferred your files to your new hosting provider, you’ll need to update your domain’s DNS settings so that your domain can point to the new server IP address. This is important to avoid your DNS settings still pointing to your old host.
To do this, you should contact your domain name registrar for assistance. They will provide you with the necessary information to make the update. However, keep in mind that it may take up to 48 hours for your domain to fully propagate. During this period, refrain from making any changes to your website as they will only apply to the old version of your site.
Conclusion
In conclusion, migrating a WordPress site to a new host might seem daunting, but with the right steps and precautions, it can be a relatively straightforward process. By following this easy quick guide, you can successfully transfer your website to a new hosting provider without experiencing significant downtime or data loss.
Remember to back up your files and database, choose a reliable hosting provider that meets your requirements, and follow the step-by-step process outlined in this guide. Additionally, ensuring compatibility between the old and new hosting environments, double-checking for errors post-migration, and updating your DNS settings are crucial steps for a smooth transition.
Always perform a thorough review of your newly migrated site to verify that everything is functioning correctly. Don’t forget to test functionalities such as links, images, forms, and plugins to ensure they work as expected on the new host.
If you have a WordPress website and want to give your a sleek look, then you must visit VW Themes now! We offer best themes with premium as well as free WordPress theme options. You can checkout our theme collection, so what are you waiting for?
Lastly, don’t hesitate to seek assistance from your new hosting provider’s support team or WordPress forums if you encounter any challenges during the migration process. With careful planning and execution, you can efficiently do the importing WordPress site to new host, allowing you to continue delivering a seamless online experience to your visitors.


