In today’s fast-paced digital environment, the field of online stores is a profitable opportunity. By taking advantage of the versatility of WordPress, the journey becomes not only smoother, but also remarkably customizable. This step-by-step guide aims to facilitate the smooth transition of your brick-and-mortar grocery store to a successful online platform. From choosing a domain name to launching your website, every step is carefully considered to ensure simplicity and customization. With its user-friendly interface and countless plugins, including the powerful WooCommerce, WordPress empowers you to create a visually appealing and functional online store. Embrace this digital evolution to meet the growing demand for online convenience and watch your grocery store thrive in a dynamic and competitive e-commerce environment.
Steps to Create Online Grocery Store Website
1. Select Domain Name & Hosting Service:

The first crucial step is choosing a domain name that reflects your brand and is easy to remember. Once decided, select a reliable hosting service to ensure optimal performance and security for your online shop. Selecting a domain name and hosting service lays the foundation for your online presence. Your domain name is your digital identity, so it’s essential to choose wisely to resonate with your brand and be memorable to visitors. Additionally, a reliable hosting service ensures your online shop operates smoothly with optimal performance and security measures in place. Invest time in research and consideration to make informed decisions that support your online business growth.
2. Install WordPress:
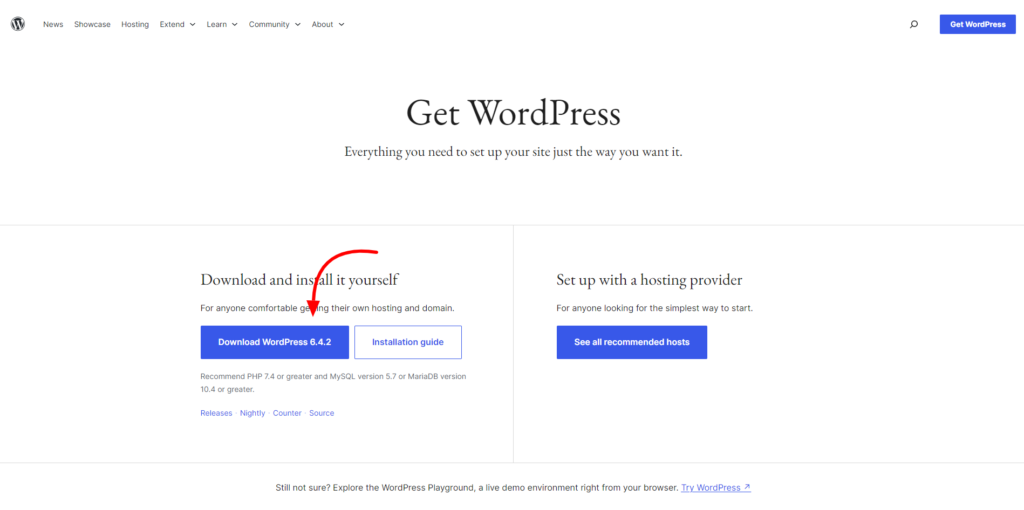
To create online grocery store, install WordPress, begin by choosing a reliable hosting provider and registering a domain. Access your hosting account dashboard, find the One-Click Installer or Auto Installer tool, and select WordPress from the available applications. During installation, provide basic details such as your website name, username, and password. Choose the installation directory and complete the process, allowing the installer to set up the necessary database and core files. Access your WordPress dashboard using the provided credentials and start customizing your website by exploring themes, plugins, and settings. If you encounter any issues, refer to your hosting provider’s support or documentation for assistance.
3. Select a WordPress Theme:
Choose a theme that aligns with your brand identity and provides a user-friendly experience. There are numerous free and premium WordPress themes available, so take your time to find the one that suits your online shop. Here are some of the best WordPress grocery theme.
Grocery Store WordPress Theme:

In the fast-paced world of e-commerce, a grocery WordPress theme is emerging as an indispensable tool that perfectly blends functionality and aesthetics to enhance the online shopping experience. Built with the unique needs of grocery businesses in mind, this theme is a digital storefront tailored for success. From sharp and intuitive navigation to visually engaging product displays, it meets the demands of today’s consumers who seek convenience in the grocery store.
With a friendly interface, reliable features and compatibility with the popular WooCommerce plugin, the grocery store WordPress theme makes it easy to set up and manage your online store. Join us on a journey where technology meets consumer demand as we explore the transformative potential of this topic by creating a virtual marketplace that mirrors the efficiency and charm of a traditional grocery store. This theme is one of the best choice for you to create online grocery store website with ease.
Features:
a. Intuitive Product Navigation:
Effortlessly browse through an extensive range of grocery items with a user-friendly interface, ensuring customers can quickly locate and explore the products they need for their shopping list.*
b. Mobile Responsive Design:
Enjoy a seamless grocery shopping experience on various devices, including smartphones and tablets, as the theme ensures optimal responsiveness, accommodating the diverse preferences of online shoppers.*
c. Dynamic Product Catalog:
Present your grocery items attractively with a dynamic catalog, featuring high-quality images, detailed descriptions, and categorization for easy navigation, creating an engaging and informative shopping environment.*
d. WooCommerce Integration:
Leverage the power of WooCommerce to seamlessly manage your online grocery store. From secure transactions to inventory management, this integration ensures a robust and efficient e-commerce platform for your business.*
e. Promotions and Discounts Module:
Boost customer engagement and sales with an integrated promotions and discounts module. Easily create and manage special offers, ensuring your customers enjoy enticing deals on their favorite grocery items.*
f. Secure Checkout Process:
Prioritize customer trust with a secure checkout process. The Grocery Store WordPress Theme incorporates reliable payment gateways, encryption protocols, and a seamless transaction flow, fostering a worry-free shopping experience for your customers.*
4. Install and Activate Your Theme:
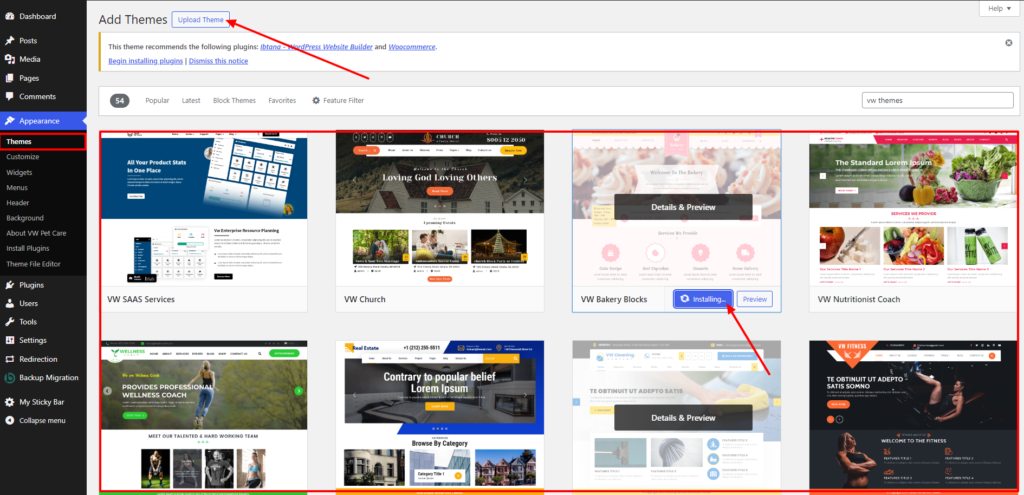
To install a WordPress theme, start by logging into your WordPress dashboard and navigating to “Appearance.” Click on “Themes” to access the available options. If you’re opting for a free theme from the WordPress repository, simply click “Install” on your desired theme and then activate it. For premium or custom themes, select “Upload Theme,” choose the theme file from your computer, and click “Install Now.” Once installed, activate the theme to apply it to your website. You can then fine-tune the theme settings through the “Customize” option under “Appearance” to tailor it to your preferences.
5. Import Demo:
To import a demo for a WordPress theme, first, ensure the theme is installed and activated on your site. Some themes may require a demo importer plugin, so check the theme documentation for recommendations. Access the theme options or customization settings, typically found in the WordPress Customizer or a dedicated theme options panel. Look for the demo importer section and choose the specific demo layout you want to import. Start the import process by clicking on the “Import” button, confirming any prompts, and selecting components like content and images. Wait for the import to complete, and once finished, review your site to ensure the demo content is applied correctly. Customize the imported content as needed and, if recommended by the theme, update your permalinks structure under “Settings” > “Permalinks.” Check the theme documentation for any post-import steps or recommended settings to ensure a seamless transition to the desired demo layout.
6. Customize the Content as per Requirement:
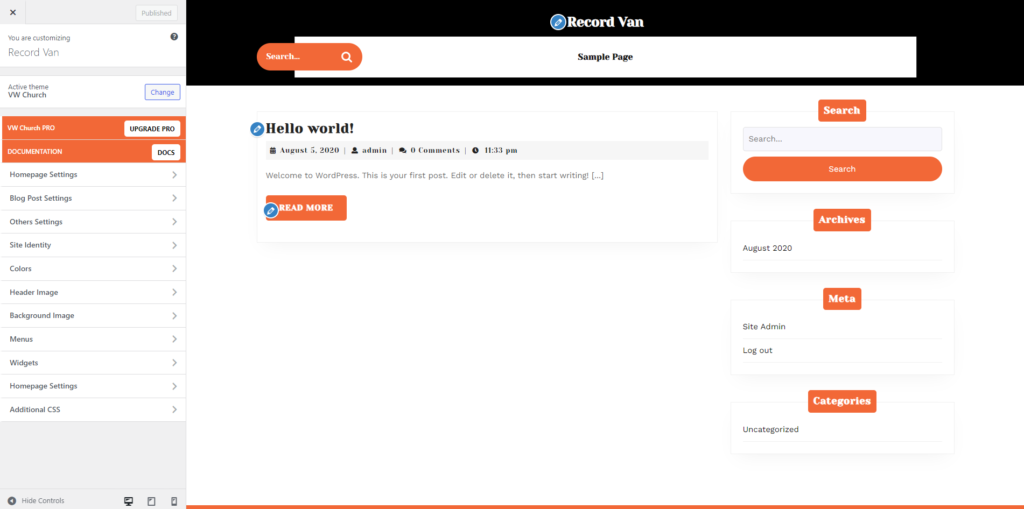
Personalize your online shop by customizing the content, including text, images, and layout. Make sure your website is visually appealing and easy to navigate for your customers. Tailor your online shop to your unique brand identity by customizing content within your WordPress dashboard. Modify text, images, and layout to create a visually appealing and user-friendly experience. Ensure that your website reflects the essence of your business and products, optimizing navigation for seamless customer interaction. Regularly update and refine content to keep your site dynamic and aligned with evolving business needs, fostering a positive and engaging online presence. This is an important steps to create online grocery store.
7. Install and Activate WooCommerce Plugin:
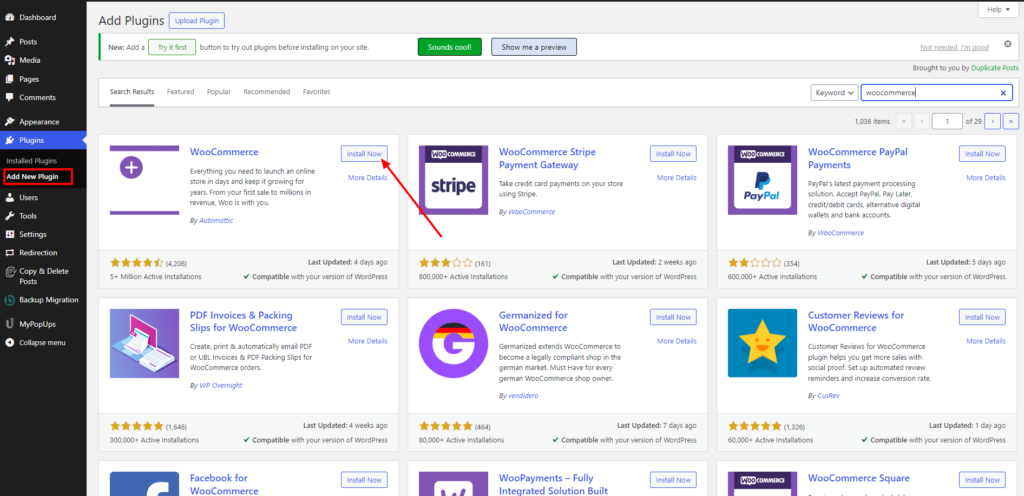
To install and activate the WooCommerce plugin on your WordPress website, begin by logging into your WordPress dashboard. Navigate to the “Plugins” section and click on “Add New.” Search for “WooCommerce” in the plugin repository, and once found, click “Install Now.” After the installation is complete, activate the WooCommerce plugin. Upon activation, a setup wizard will guide you through essential configurations such as store location, currency, shipping, and payment methods. Choose your preferred payment gateways, configure shipping settings, and complete the initial setup. Review and customize additional settings in the WooCommerce section of your WordPress dashboard. Enhance your online store by exploring WooCommerce extensions, themes, and further customization options. Finally, start adding products to your store through the “Products” section, making your WordPress site fully equipped for e-commerce functionality.
8. Add Products:
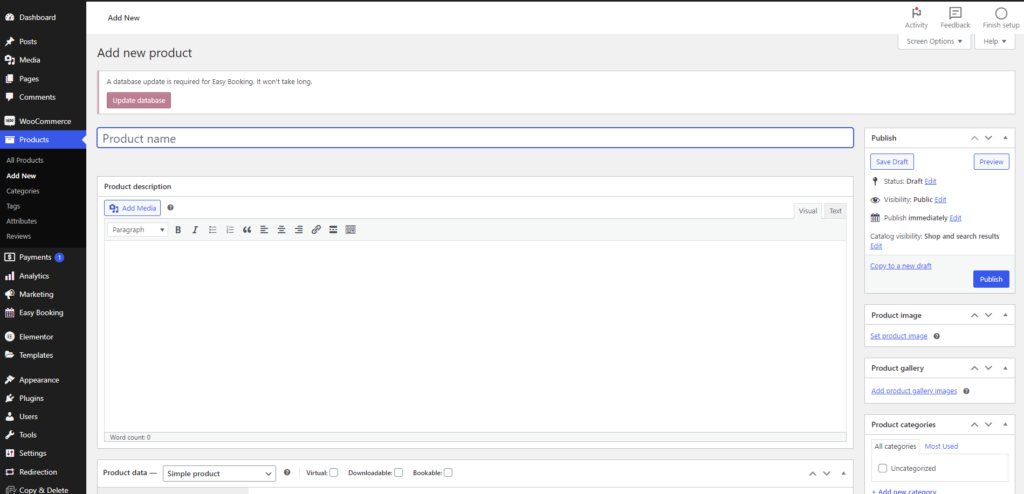
To add products to your WordPress website, start by logging into your WordPress dashboard and navigating to the “Products” section. Click on “Add New” to create a new product. Fill in the essential product details, including name, description, and category. Upload product images in the designated section, ensuring they showcase your product effectively. Configure product data such as regular and sale prices, stock status, and SKU. Manage inventory settings, set shipping details, and add product attributes if needed. Adjust the product’s visibility in the “Publish” box and preview before clicking “Publish” to make it live. Repeat the process for additional products by selecting “Add New” under the Products menu. This systematic approach ensures a seamless product addition process, helping you build a comprehensive and organized online store on your WordPress site. This will create online grocery store Woocommerce ready.
9. Set Up Payments and Test Your Website:
To set up payments and test your WordPress website, begin by logging into your WordPress dashboard. Install and activate a suitable payment gateway plugin, such as WooCommerce Payments, Stripe, or PayPal. Configure the payment settings within the plugin, including currency, payment methods, and account details to align with your business requirements. If available, enable the test mode to simulate transactions without processing real payments. Create a sandbox or test account on the payment provider’s website, if needed, to facilitate thorough testing.
Execute various test transactions, ensuring to check transaction statuses in both your WordPress dashboard and the payment gateway’s interface. Verify the customer experience by navigating through the entire purchasing process, from product selection to checkout. Once satisfied with the test results, disable the test mode and commence processing real payments. Regularly monitor transactions, address any issues promptly, and optimize the payment process based on customer feedback to guarantee a seamless and secure online shopping experience.
10. Launch Your Website:
Once you are done to create online grocery store, added products, and tested the functionality, it’s time to launch your website. After tailoring your online shop, incorporating products, and validating functionality, take the decisive step to launch your website. Create anticipation by announcing your grand opening across social media and various marketing channels, building excitement among potential customers. Implement a strategic launch plan, including promotional offers or exclusive deals, to entice visitors and establish a strong initial presence in the online market. Monitor website performance post-launch, addressing any feedback promptly, and continuously refine your strategies to ensure sustained growth and success.
Conclusion:
Embarking on the journey to create online grocery store in WordPress signifies not just a business expansion but a commitment to adapt to modern consumer trends. By meticulously following these steps, from selecting your domain to launching your website, you’ve woven a digital presence that combines functionality with aesthetic appeal. Your WordPress-powered grocery store is now equipped with the robust WooCommerce plugin, ensuring a secure and seamless shopping experience for your customers. As you launch your website, stay attuned to customer feedback, evolving trends, and emerging technologies to continually enhance and optimize your online grocery store for sustained success in the competitive e-commerce landscape. The digital shelves are stocked, the virtual doors are open – welcome to the world of online grocery retail.
However, if you want to streamline the process and gain access to additional features and support, consider investing in a WordPress theme bundle. This bundle include premium themes specifically designed for online stores, along with plugins, extensions, and other resources to enhance functionality and streamline management.


