Introduction
Want to earn money through your teaching skills? An online course or education website is the only way you can achieve your goal. Today, online courses are generating more revenue than those promoted through pamphlets.
This is the power of the digital world, and your education skills can also be a part of it. You simply need to have a website where you can easily create and sell courses for online learners.
I know you must be confused to the point that without any technical knowledge, you cannot create a website. Not to worry; this blog is a helping hand for you.
The blog conducts a full tutorial where you will learn how to create and sell online courses using the Tutor LMS plugin.
Let us find out the in-depth details about it.
What is Tutor LMS?

Tutor LMS is an incredible plugin that provides ways to establish, create and sell courses online. This is a top-tier solution if you have an education website or wish to have one.
It is a complete pack that provides various solutions to intensify your education website by creating online courses. Not only that, but the plugin allows superb solutions to sell the courses online with easy payment setups.
It provides a user-friendly solution so that the user and the students both find it easier to use the service. It even manages monetization, quizzing, and integration with WordPress plugins and themes.
Things Needed to Create and Sell Online Courses in WordPress
Creating and selling online courses needs to be done on a website. Here, we assume that you already own an educational website without any content.
In case you do not have a website ready, we are displaying vital steps that will help you.
1. Get a domain and a hosting provider
A website design requires a certified domain, which is the addressing element. The domain is the name or address through which end users will easily find it on the web.
There are so many domain providers on the web ready to design creative and unique domains for your site. You can get your domain from GoDaddy, Bluehost, and more.
The next vital step is to get a certified hosting provider. Just like the domain is the addressing element, the hosting is the storage box for your site.
All the necessary files, folders, and vital data of your site are stored under the hosting. As there are so many domain providers, you will also find various hosting providers. You can choose a hosting service from HostGator, Bluehost, GoDaddy, and more. Once you have selected both for your website, it’s time to proceed with the next step.
The next step is to install WordPress, which is made easier when you have chosen the right hosting service. While with most hosting services like Bluehost, WordPress installation requires a single click.
Once WordPress is installed, you have a blank website ready to add content to.
Know more about web hosting and domain name and which hosting provider to select in our previous blog.
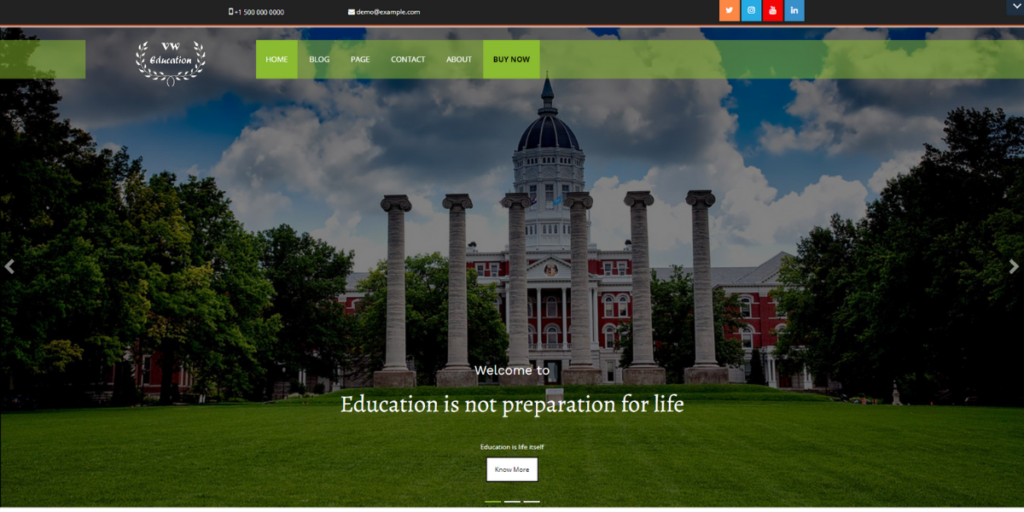
2. Get a WordPress theme that makes your website shine
This step can be optional, as the motive is to create and sell online courses. But getting a theme is nothing compared to extending the online presence of your site on the web. A theme is the most beautiful element of any website, especially when you create it for the audience.
For educational websites, again, you will find hundreds of platforms selling their native featured WordPress themes. But you need to land on the platform, which makes a difference.
Without much waiting, you can truly depend on VW Themes having their latest collections. And out of the best VW themes, you can have:
a. LMS Education WordPress Theme

b. Education WordPress Theme
c. School WordPress Theme

d. Academic WordPress Theme

Once you have selected the right theme for your education website, it’s time to know how to install the theme.
- To install a theme on WordPress, you need to first visit the VW Themes page.
- Under the Themes section, search for the theme you have chosen for your website.
- Once found, tap on the theme, and the theme page will appear. On the theme page, scroll a little and tap the Buy Now button.
- The next page will be the billing page, where you need to enter the payment details and account information.
- Only then will you finalize the theme for your website. Once the payment is completed, the zip file will be downloaded to your device.
- Next, you need to visit your website dashboard and tap the Appearance tab.
- Under various options, you need to select the theme option.
- On the themes page, tap the Add New button at the top. The next page will show the theme directory, but you need to tap the Upload button.
- You simply need to upload the zip file that you got after purchasing the theme.
- Once done, tap the Install button, and immediately a new window will appear with the link to activate the theme.
- Once activated, you can now customize it to your needs.
3. Install WooCommerce and the Tutor LMS plugin
Tutor LMS is the plugin through which we are going to create and sell online courses for your site. And to sell them online, you need a Woocommerce plugin.
Both plugins are available in the free and premium versions. The premium WordPress plugin version has the best premium features to use.
- To install the premium version of the Tutor LMS plugin, visit the official website and select the plan that suits you. Then press the Buy Now button to continue with the next step. After completing the payment, a zip file will be installed on your device with a license key.
- Next, you need to head back to your dashboard area and tap the Plugins tab.
- On the plugins page, you need to tap the Add New button at the top.
- The next page will show you the plugins directory, but you need to tap the Upload file button at the upper part.
- It will ask you to upload the zip file that you installed after purchasing the plugin. Simply upload the file and tap the Install button. After this, tap the activate button, and the plugin is now accessible for your site.
Similarly, you can get the WooCommerce plugin on your site by applying the same process.
4. Create a course in the Tutor LMS.
When you have an LMS tutor, the course creation process is not that crucial. The plugin has made it simple to create a course.
- To create a course with Tutor LMS, simply visit the Tutor LMS plugin in the dashboard area and tap it.
- On the next page, you need to tap the Add New button at the top. The next screen will appear, asking for various options to create a lesson, quiz, or assignment. It freely allows you to customize the type of online course you need to build.
- Once selected, the next screen will appear like a blank form. You need to add a title, a description, and more controls.
- The interface even allows you to add variations to courses, including media, audio, presentations, and more.
- Once you have added all the details to your course, simply tap the publish button, and your course is ready. This way, you can create as many courses on your site.
- Since we have already installed WooCommerce on the site, we are now ready to sell them on the web.
- For this, monetization is a vital part that needs to be enabled on your website.
- For this, visit the dashboard area and then the Settings option under the Tutor LMS.
- Under the Settings panel, tap the monetization option. Now, under the “Select E-commerce Engine section, you need to select Woocommerce and save changes.
- Again, visit your created course page. Scroll down to the Add Product Section and tap the free option next to the paid one. After that, you can add your price and finally tap the publish button.
6. Setup Payment Methods
Now, we have everything set up for the online course-selling website. But wait, have you set the payment methods so that customers can easily pay online?
For this, you simply need to visit the dashboard area and tap the Settings section under the Woocommerce option.
Here, you need to tap the Payments tab and simply enable any of the best Woocommerce payment options. After this, it will ask you which payments to add. You can add several payment options as per your needs.
And now you are good to launch your online course for selling.
Conclusion
Embarking on the journey to create and sell online courses with Tutor LMS on WordPress opens a world of possibilities for educators and content creators. This powerful combination offers a user-friendly platform for course development, management, and monetization.
As you navigate this educational endeavor, consider enhancing the overall experience by incorporating a carefully curated WordPress theme bundle. These bundles not only provide aesthetic appeal but also ensure a seamless integration with Tutor LMS, offering a visually cohesive and engaging learning environment. With Tutor LMS and a thoughtfully chosen theme bundle, you’re not just crafting courses; you’re building an immersive and marketable online learning experience that resonates with your audience.
Elevate your e-learning venture with the dynamic synergy of Tutor LMS and a purposefully designed WordPress theme bundle.


