
Introduction
Do you want your clothing store to roll out on the web to generate more sales and revenue? Well, this is the only reason why so many apparel retailers and sellers are getting their businesses done on the web. You must be in the same boat, right?
We have got your way. It seems crucial to even think of a website with no coding skills or experience. But we are here to make it much easier for you to create an online clothing store.
This blog is a comprehensive and simple guide on how to create an online store with simple steps. Let us hear it out.
Simple Steps to Create an Online Clothing Store with WordPress
To create an online store, you need to have a perfect plan of steps to follow. And that too when you are using WordPress for it. WordPress itself is a sophisticated platform to start an online store without any codes.
It gets any niche website done right without using any codes or developer skills. But there is a list of steps you need to follow:
- Purchase a domain and a hosting service.
- Install WordPress
- Pick a good theme and customize it.
- Install Woocommerce
- Add Products
- Set up payments and test your website.
1. Purchase a domain and a hosting service.
The two most vital entities that contribute to the website design are the domain and the hosting service.
A domain works as the addressing element for your website. The ultimate address at which users can easily find you on the web. It mostly starts with your brand or company name and usually ends with ".com."
To get a domain name for your site, you can use domain generators on the web. Create a unique domain that easily resembles your brand. It should be easy to pronounce and understandable. You can choose from certified platforms like GoDaddy, Namecheap, Bluehost, and more.
The hosting service is the home of your website, where all your necessary data files are stored. A hosting service provides an individual server on which your website can run.
Just like a domain, you can opt for hosting services through hosting providers with yearly or monthly plans. While choosing the right hosting service, you must look for great speed, uptime, and reliability. You can get the right hosting service from HostGator, GoDaddy, Bluehost, HostPapa, and more.
After choosing the right hosting service, get a plan that fits your web design budget well. One interesting fact that professional hosting services offer is a free domain for an entire year.
Once you are done choosing the right hosting service, it is time to install WordPress.
2. Install WordPress

Now that you have chosen the right hosting service, you can now install WordPress to proceed further.
While this step is somehow the easiest one, it mostly depends on the hosting service you have chosen. Most hosting providers have simplified WordPress installation. Or some may integrate WooCommerce and WordPress to lighten up your work.
3. Get a good clothing store theme for your online store.
After getting the perfect domain, hosting, and WordPress installation, it's time to get the perfect theme to create an online clothing store.
Now let’s just face the fact that finding the right theme for your niche is the trickiest part ever. This is the thing about your entire website its presentation and functionality too. So, you need to pick out the best that suits your niche perfectly.
Again, you will be confused about which theme platform provides the best theme services to adapt. But we are again here to help out, with so many platforms selling their best themes on board.
Among those high-end platforms, VW Themes is doing its best to deliver the best WordPress themes. They are certified in quality, performance, and affordability too. And out of their best themes, it is highly recommended to use the Clothing Store theme. Let’s hear more about it.
Clothing Store WordPress Theme

The Clothing Store Theme is your work permit to craft your personalized online clothing store. It is one of the best-selling themes, with a lot of features and designs to add. What colour selection, jaw-dropping layouts, and whatnot, the theme excels in every section. Appearance-wise, the theme is a top-tier one to beat your competitors. You can even enhance its appearance by giving it a personal touch without any codes required. The theme is skilled in the latest WordPress versions so that users will always get the best. Its functionality is easily adapted by beginners as well. It has the most user-friendly homepage design, along with a lot of menu items and a sidebar to guide further. The theme has a pre-designed range of web pages for your clothing store. They can be easily customized using the drag-and-drop feature. Also, it has integrated Woocommerce, which rules your online store.
Now that you have selected the right theme, you can now install it on your blank website. To install this theme, follow these steps:
- Reach your website’s admin dashboard area and go to the Appearance section.
- Under various options, choose the Themes option, and it will help you reach the Themes page.
- You need to tap the Add New button at the top and search for the Clothing Store theme.
- Once found, tap Install and then the Activate button.
4. Install Woocommerce
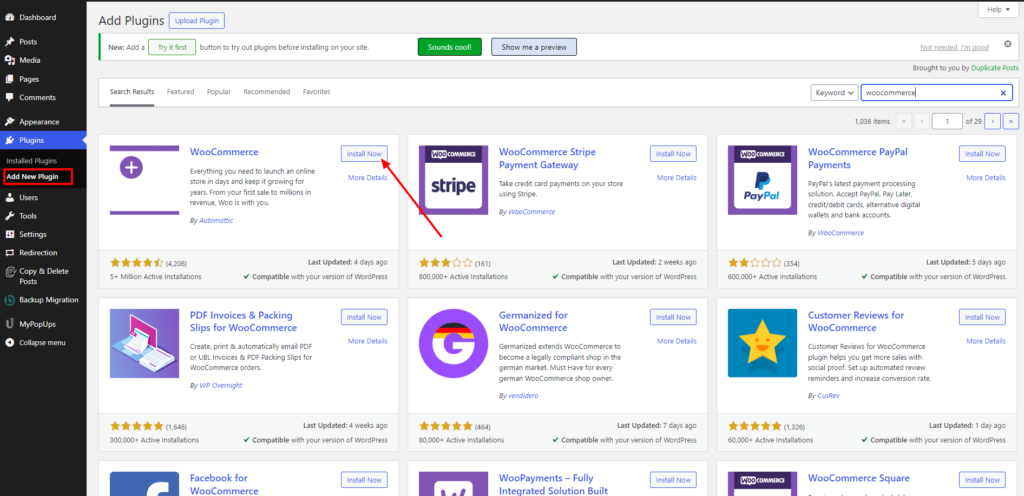
Woocommerce is the essential nutrient you need to launch an online store. This is a WordPress plugin that can turn your normal website into a lavish online store.
The best quality is that it gives scalability to create an online clothing store with its amazing assets. The interface is user-friendly and easy to customize. Although Woocommerce is a free plugin, its features can be extended with premium plans too.
So, to install Woocommerce, simply follow these steps:
- Reach the admin dashboard of your website and tap the Plugin section.
- You will immediately reach the plugin page listed with the existing plugins. But you need to choose the Add New button at the top.
- When you tap the Add New button, the plugin directory will be opened, and you can simply search for the Woocommerce plugin.
- Once found, press the Install and then Activate the plugin.
- After the installation process, Woocommerce lightens the stress of creating individual store pages for you. It automatically creates web pages like the shop page, cart page, account page, and checkout page.
- You can simply go for the customization process when you already have the pre-designed pages.
You can read our previous blog which gives a detailed step by step description of installation of Woocommerce plugin.
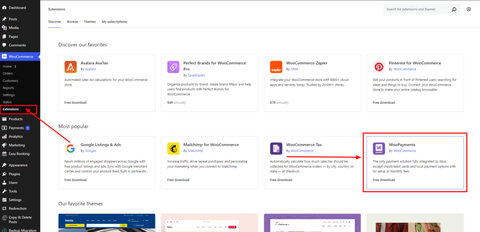
5. Install additional plugins.
After Woocommerce, you need more plugins to increase the actual functionality of your website. You can have Elementor website builder or block editor, SEO plugins, caching, analytics, and more.
Or you can go for Woocommerce extensions like payment gateways, customer reviews, galleries, and more plugins.
6. Add products to your online clothing store.

Finally, it's time to showcase all your clothing store products on your website. Follow these steps to add products:
- To add products to your site, reach the admin dashboard and tap the “+New” link at the top bar.
- Among various options, you need to tap the product option, and again, a list of options will appear. You need to tap the Add New option, and you will reach a new window.
- In the new window, simply fill in the product name and description of your product. After that, you can add more details about your product, like images, categories, tags, price details, and more.
- Once you are done with adding the product details, save and publish it. Your store product is now live on your website.
- Similarly, you can add more products by following the same process.
7. Set up payments and test your website.
Before launching an online clothing store, it is necessary to set up online payments. Among so many online payment platforms, we are choosing the Woocommerce payments plugin. Here, users are allowed to pay with credit, debit, Apple Pay, and more express payment options. You can also go through the list of payment plugin for WordPress to get more payment options.
Steps to enable payment options in the website:
- To enable Woocommerce payments, you need to install this extension on your website. It will immediately appear as Payments in the sidebar panel, and you need to tap it.
- The payments page will show different payment options like debit, credit, Google Pay, and Apple Pay.
- There is one Finish Setup button at the end, which you need to tap to complete the payment setup on your site. Finally, your website will start accepting purchases using different payment methods.
- Now that you have completed the payment process, it's time to test your website and see how it works. You must check that all the web pages and features are running well.
- Every product is perfectly placed with the right details and images. Your website must be responsive enough to be accessed on all screens.
- Ensure that all the plugins are in working condition and updated with the latest versions.
- Once done with all that, you are now ready to launch your clothing store website.
Conclusion
Create an online clothing store through WordPress themes that offers a dynamic and user-friendly approach to e-commerce. As you navigate through the process, ensuring a seamless shopping experience for your customers should be a top priority. Choose a responsive theme that not only complements your brand aesthetic but also prioritizes functionality. With a plethora of themes available, opt for one that supports essential e-commerce features like product showcases, secure payment gateways, and mobile responsiveness.
Customization is key to making your online clothing store stand out. Leverage the flexibility of WordPress themes to personalize your site's appearance and functionality. Tailor the design elements, color schemes, and layout to resonate with your brand identity and appeal to your target audience. Additionally, optimize the user experience by integrating easy navigation, high-quality images, and clear product descriptions. These steps enhance the visual appeal of your store and boost customer engagement, ultimately driving sales.
If you're looking to create a robust e-commerce platform for your online store, the WP Theme Bundle by VW Themes can be an excellent choice. With over 240 premium themes included, this bundle provides a wide array of options, ensuring you'll find a design that suits your store's unique style and requirements.
Lastly, before launching your online clothing store, thoroughly test its functionality across different devices and browsers. Ensure that all links, buttons, and checkout processes work seamlessly to provide a hassle-free shopping experience. Regularly update your content, monitor customer feedback, and stay abreast of the latest trends to keep your store relevant and competitive in the ever-evolving world of online fashion retail. With dedication and attention to detail, your WordPress-based clothing store can become a thriving hub for fashion enthusiasts while offering a smooth and satisfying shopping journey.
Blogs Categories
Podcast WordPress Theme (Audio Podcast 2.0)

Latest WordPress Themes


Buy All our Premium Themes just at $119
