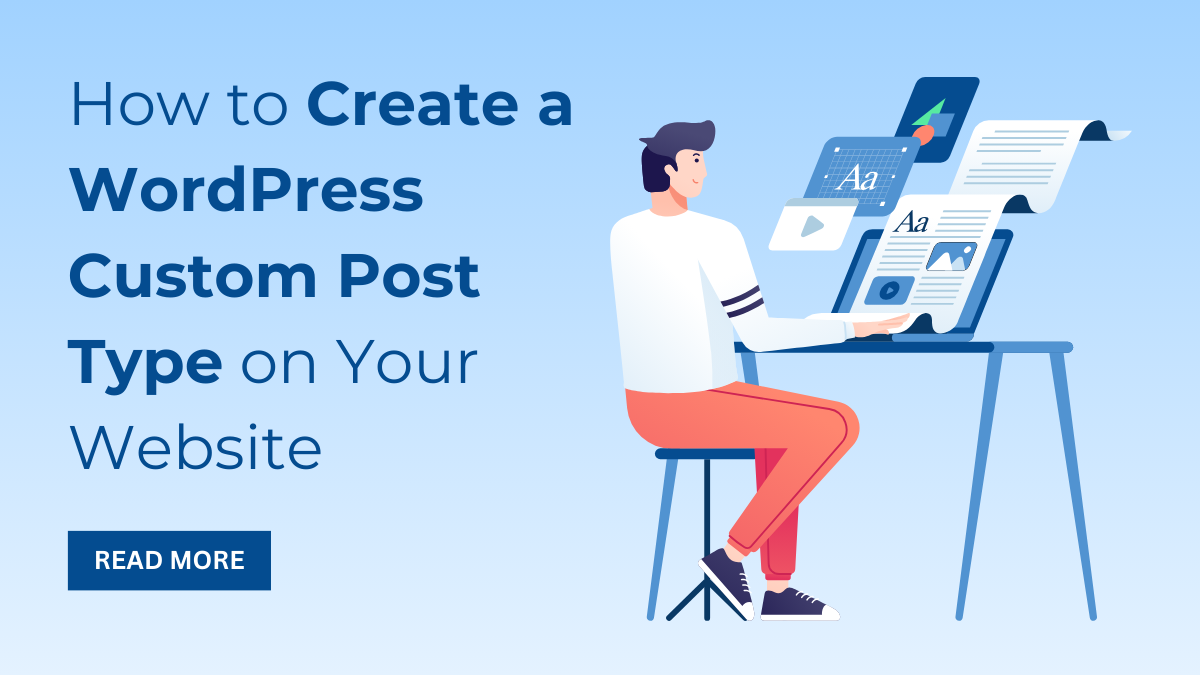
Introduction
A website is of no use without adding content to it. And when you create a WordPress website, by default, it provides two types of content. One is the posts, and the other is the pages. These content types are used all over the site to cover all sorts of content from your respected firm.
But as the requirement and the content rise with the demand, these two content types must be added at any point. So the WordPress developers created the Custom Post Types for advancement. These custom post types are the extended version that lets you create beyond the default content types on the site. In this blog, we will let you know how you can create a WordPress custom post type on your site. There will be two different methods to create. Let’s know in depth about it.
What are Custom Post Types in WordPress?
Custom Post Types are the advanced version of the default content types on WordPress. These are the powerful elements that turn out to be super beneficial for your WordPress website. These are used to put massive content types on your site beyond the default content types.
As compared to the default content types, custom post types can be created a variety of times. For websites with huge content and more to be added in the future, this feature is a complete right hand for them.
Custom post types can have different fields and category sections by default. Custom post types are mostly used on e-commerce websites. Plugins such as Woocommerce, WPForms, and MemberPress can be used to add custom post types.
When creating a WordPress website, one of the most exciting aspects is the ability to personalize and tailor your site’s appearance to suit your unique vision and goals. One way to achieve this customization is to buy a WordPress theme. WordPress themes offer a wide range of designs and features, allowing you to find the perfect fit for your website’s aesthetic and functionality needs. Whether you’re building a portfolio, an online store, a blog, or a corporate website, there’s a theme out there to match your style and requirements.
How are Default and Custom Post Types Different From Each Other?
As said, WordPress comes with default content types, i.e., posts, pages, media, and more. But custom post types are fully customized and can be created as per your needs. These are required to be created using a manual process or with a plugin.
WordPress default content types are available with limited options, but custom post types are flexible.
The default content types are eligible for standard blogs, pages, and media. However, the custom post types are for specialized and extended content types.
Why Use Custom Post Types on Your WordPress Website?
WordPress developers have created the concept of custom post types for the following reasons:
- Create a WordPress custom post type website making the content look organized and well-structured.
- As these can be easily categorized, users will find it easier to search for any type of content on your site.
- These are renowned for adding special types of content to your site.
- Adding custom post types to your site helps it rank well on search engines.
Create WordPress custom post types using different methods
WordPress allows you to create custom post types using two different methods. One is by using WordPress plugins, which is quite simple, and another is by using codes.
1. Create a WordPress custom post type using a plugin

To add a custom post type, we are using the Custom Post Type UI plugin. You need to get this plugin installed and activated on your site.
Once it is done, you will find that the plugin option is present under the dashboard area of your site as CPT UI. By tapping that plugin, you will find various options unlocked.
Tap Add/Edit Post Types, as this will take you to create a new post type.
Once you are on the screen to create a custom post, it requires you first to add a slug for your custom post type. For example, you can take music, so it must be easy to query.
After that, there are more empty fields where you need to provide the plural and singular numbers of the post type. For the menu name, you can give “My Playlist.”

In the end, there is an automated link named “Pould Additional Labels Based on Chosen Labels.” This will save you time filling up the additional labels on your own. And finally, at the end, tap the Add Post Type button.

Once done, you will find that your custom post type is now present in the dashboard area. You can add content to it by clicking on the Add New button at the top.
This will take you to the post page, which is blank and ready to add content. For this blog, we are adding an image and a contact form block to it.
To add an image block, simply tap the “+” sign, and by scrolling down a little, there is an image block. Tap Add, and you can upload the image from your device.

To add a contact form, simply search for the form block, and it will be added to your post.
Lastly, publish the post.
2. Create a WordPress Custom Post Type Manually
Now the second method is to create a custom post type using a manual process.
For this, you first need to access the functions.php file in the theme directory. Once reached, simply add the below code to it.

Once you have added this code, you will find that the music post type is automatically added to the dashboard area.
The next step is to utilize init in the “add_action()” and “register_post_type()” functions that will accept further arguments.

After adding this code, you will see that the blank post type will appear with a list of features added to the code. And bingo, you have to create a WordPress custom post type manually. Note that this method is not suitable for beginners or non-coders. It is highly recommended for high-end developers and experts.

Adding content to the newly created WordPress Custom Post type
Now that you have created the custom port type on your site, it’s time to display it with content.
For this, visit the post type that is “music,” and among the two options under it, tap the Add New option.
Once clicked, it will allow you to add content to your new custom post. You simply need to add the title and body of your post. Also, it is required to add the excerpt and the feature image to it.
Once done, tap the Publish button, and it’s done.

For more details you can refer our previous blog on custom post type in WordPress.
Conclusion
So now you know how create a WordPress custom post type on your site makes it look organized and structured. This is a new term from the WordPress developers for extending the default content types on your site. These can help you add special content types to your site with variations to add.
For some of them, it might look challenging at first, but we have made it the best possible way for you to learn. There are two different methods to create custom post types: one by using WordPress plugins, and the other by manual process.
Plugins make your work easier and faster and can be used even by beginners. Whereas the manual process requires a good understanding of codes and developing skills. So, the choice is yours now to choose among which method is useful to you to create WordPress custom post types.


