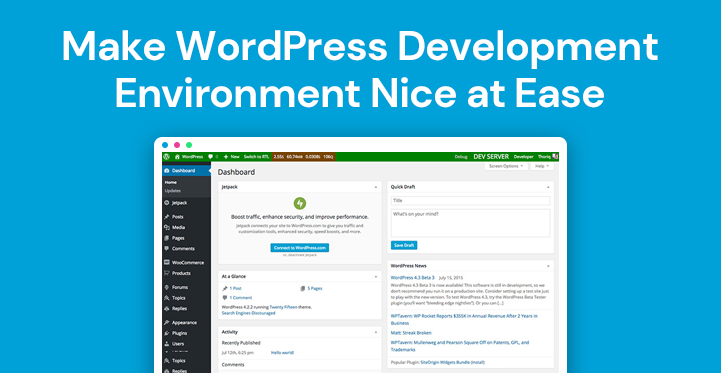
The practice of many users to make changes in their live site while developing a website on WordPress is not recommended as if something goes wrong while making the changes; it would be noticeable to the public. It is suggested to use a staging server or set up WordPress development environment as an alternative.
An online WordPress development environment helps in customizing the website before the site goes live is one of the benefits we will see others too.
The Benefits Of WordPress Local Development:
Setting up a development environment on WordPress has various advantages as follows:
- Safe Update– Before applying the core and the component of WordPress updates on their live site users can ensure they are free from problems.
- Faster Performance– The faster performance of the site thereby improving the workflow due to independency of internet connection.
- Themes And Plugins– Users can also check various themes and plugins on their local site thereby preventing their live site from facing any compatibility concerned issues with the same.
- Independent Of Internet Connection– One of the most important advantages of setting up WordPress development environment is that the users can work on their site without being connected to the internet..
Setting Up Online WordPress Development Environment:-
The following steps are involved for setting up a development environment on WordPress with the help of certain tools.
Step 1: To Meet The Need Select An Ideal Server
- MAMP- This tool is a single solution that includes every users require element for setting up their server and running their site. For both Windows as well as for Mac it works.
- XAMPP- Users can install the WordPress software stack after installing this easy- to- set- up tool, which would help them more in working on building their website immediately.
- Desktop Server– This tool can not only help users to build WordPress local development, but it also includes server virtualization features.
Step 2: Select A Text Editor
Users programming efficiency is improved with the help of a text editor. Apart from preferred text editors one can choose the following commonly used editors as well:
- NetBeans –Features such as an in-built debugger and many WordPress add-ons is included in a full-function editor.
- PHPStorm –The setting up of development environment and easily detects the site one is building on WordPress supports this editor.
- Coda – Compatible with only Mac and plugins specifically for WordPress includes here.
- Atom – This is comparatively new open-source editor and it includes plenty of WordPress add-ons.
Step 3: Selecting A Browser
The web browsers like Chrome used nowadays come with tools that help the developers from the window of the browser to test as well as debug their website directly. The most commonly used browsers are Chrome and Firefox. When it comes to Firefox it offers Firefox Developer Edition which is a browser built specifically for the developers.
Step 4: Allowing Debugging For Installation Of WordPress
To enable the Debugging function of WordPress are the user’s requirement. Since, this feature allows WordPress to display the errors that may arise while working on the site and before making their site live users can fix them in the development phase.
Step 5: Optional Tools And Plugins
Users can install other optional tools and plugins such as Query Monitor, a debugging plugin or WP-CLI for streamlining the WordPress development environment experience, etc. depending on their requirement. Theme Check plugin can also be used.
Step 6: Building The Website
Once the server is set up followed by selecting a text editor, browser, setting up debugging features and other optional tools and plugins for setting up online WordPress development environment, the users should shift their attention to building their site.
Deploy The Website:-
Deploying a website with the help of plugin ‘Duplicator’ is discussed in the following section.
Step 1: Installing Duplicator
For installing Duplicator involve below steps
- Select ‘Add New’ in Go to plugins
- In the search box write the plugin name and click on ‘enter’
- Click on ‘Install Now’ and once the installation is completed activate it.
Step 2: Export Site
For creating a package follow these steps
- Enter the name of the package after click on ‘Create New’
- As Duplicator attempts to fill the columns later automatically no need to make any changes in options from ‘Storage’, ‘Archive’ and ‘installer’ sections.
- Duplicator will run a test for detecting problems when click on ‘Next’
- Click on ‘Build’ for starting building the package if all seems good.
- To download the Installer and the zip file click on ‘One-click download’.
Step 3: Upload and deploy files on the server
In the next phase of deploying the website for which the WordPress development environment has been set up previously, go on with these steps.
- Browse the home directory of the new site by log in to FTP server
- Start uploading the created Installer and the zip files
- In the browser bar insert ‘http://yoursite.com/INSTALLER.PHP’
- To ensure that the site can be deployed in the current environment the plugin checks the integrity of the archive
- Press on ‘Next’ button after Click on the box beside ‘I have read and accept all terms and notices’
- Use an existing database or create a new one for plugin
- Set up manually for using the existing database
- Users need to provide the name of the database, username and a password in both the databases.
- Click on ‘Test Database’ then click on ‘Next’ and finally if everything appears ok, click on “Next’.
Step 4: Completing the Deployment process
While completing the deployment process the users are required to check the following aspects for setting up the WordPress Development environment.
- To ensure that no problem is experienced in the process of deployment visit the last page of the set up.
- For security purpose log in to the site which will take the user to the duplicator menu and click on ‘Remove Installation Files Now!’ at the top.
We have the best collection of customizable WordPress themes on VWthemes. Checkout today and get clean WordPress themes to create excellent websites.


