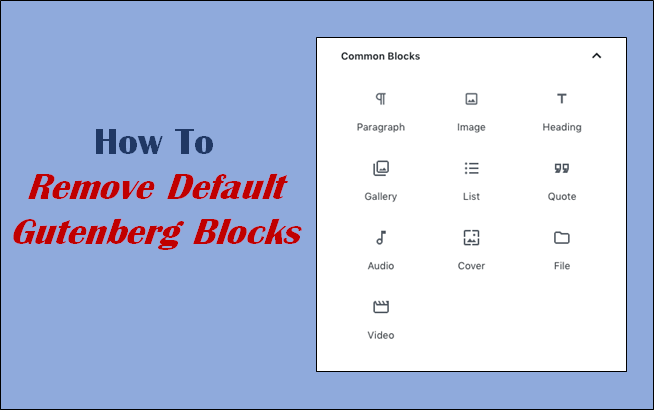
WordPress 5.0 presented Gutenberg – an altogether new manager interface for posts and pages, permitting WordPress users to create blocks of content. It’s a drag-and-drop framework, in view of building content from pre-created blocks. In our past article, we have imparted to you how to construct custom blocks in Gutenberg without coding and today how about we investigate how to restrict or remove default blocks in the WordPress block editor.
You can either disable blocks for all users or remove default blocks dependent on user roles or user accounts. You can do this in three ways – through Block Manager, through plugins, and through code. We will examine each of the three different ways in this article. Our best WordPress themes will give you an advanced website and many options for customization.

Method 1 – Disable Gutenberg Blocks Through Block Manager
This is most likely the simplest method to disable the blocks. This feature was presented in WordPress 5.2, so in the event that you have 5.2 or a more updated version form introduced you can follow this method.
First, click the 3 dots in the top right corner, and afterward, click “Block Manager”.
To disable any blocks you would not prefer to utilize, just uncheck the boxes close to the blocks you need to hide.
Method 2 – Disable Gutenberg Blocks With Code
Presently we will tell you how to restrict/disable/remove default blocks by simply utilizing a code. Be extremely cautious while applying codes or you will end up with a broken site in your hands. You can manually disable Gutenberg editor blocks with your own code utilizing the allowed_block_types filter. Simply add the code to your child theme’s functions.php or you can utilize a plugin like Code Snippets to deal with the code.
Here you can pick the blocks you need to enable and all the other blocks will be disabled. For instance, to enable the paragraph block and disable any remaining blocks, you can utilize the code given beneath.
To enable more blocks, you need to simply add the block slugs to the array.
To enable just certain blocks for posts, then, at that point, the following code can be utilized.
To discover the block slugs that you need to remember for the array, you can utilize the Gutenberg code, editorial manager. also along with this learn how to Change WordPress Username. A guide from VW Themes.
Method 3 – Restrict Or Disable Gutenberg Blocks With Plugins
- Disable Gutenberg plugin
In this Remove Default Blocks, In case you are not certain enough in your coding abilities, you can utilize modules to assist you with disabling the blocks. The Disable Gutenberg plugin will assist you with incapacitating Gutenberg totally, or specifically disable posts, pages, roles, post types, and theme layouts.
You can download the Disable Gutenberg module from the archive for nothing. Then, at that point, click on “Install Now” and activate the plugin. The default plugin settings are designed to hide all traces of the Gutenberg Block Editor, and completely restore the original Classic Editor. Further options for customizing when/where Gutenberg is enabled are accessible in the plugin settings.
In the event that you uncheck the “Complete Disable” option, you can disable Gutenberg for specific roles, post types, page layouts, and post IDs.
- PublishPress Blocks – Advanced Gutenberg Blocks, Permissions, CSS and Layouts Plugin
In case you are searching for an alternative to enable or disable/remove default blocks for certain users, then, at that point, PublishPress Blocks – Advanced Gutenberg Blocks, Permissions, CSS, and Layouts plugin can help you. Aside from adding your own custom, reusable CSS styles for your blocks, you can handle who can utilize each block, including default WordPress blocks. It has many new blocks including accordions, galleries, sliders, tabs, maps, tables, and recent posts.
You can install and activate the plugin from the WordPress archive. Then, at that point, go to PublishPress Blocks in your dashboard and click New Profile.
Make a profile and Save it.
Then, at that point, go to the Profile Attribution area and pick which users will utilize this profile. You can pick either user accounts or user roles or both. Assuming you need to disable Gutenberg blocks for every one of the users, simply select all the user roles to apply this profile all around the world.
By default, all the blocks are enabled. To choose which blocks are accessible to users with this profile, go to the Blocks List and disable the blocks you need to obstruct. You can even disable blocks from other third-party plugins.
Save the changes and the users to each profile will just see the blocks that are as yet active.
Conclusion
We trust we have equipped you with enough data to disable or remove one or more default blocks of Gutenberg editor. On the off chance that you need more help, simply get in contact with us underneath in the remarks segment.
Buy WordPress themes from VWthemes for the best website creation experience.


